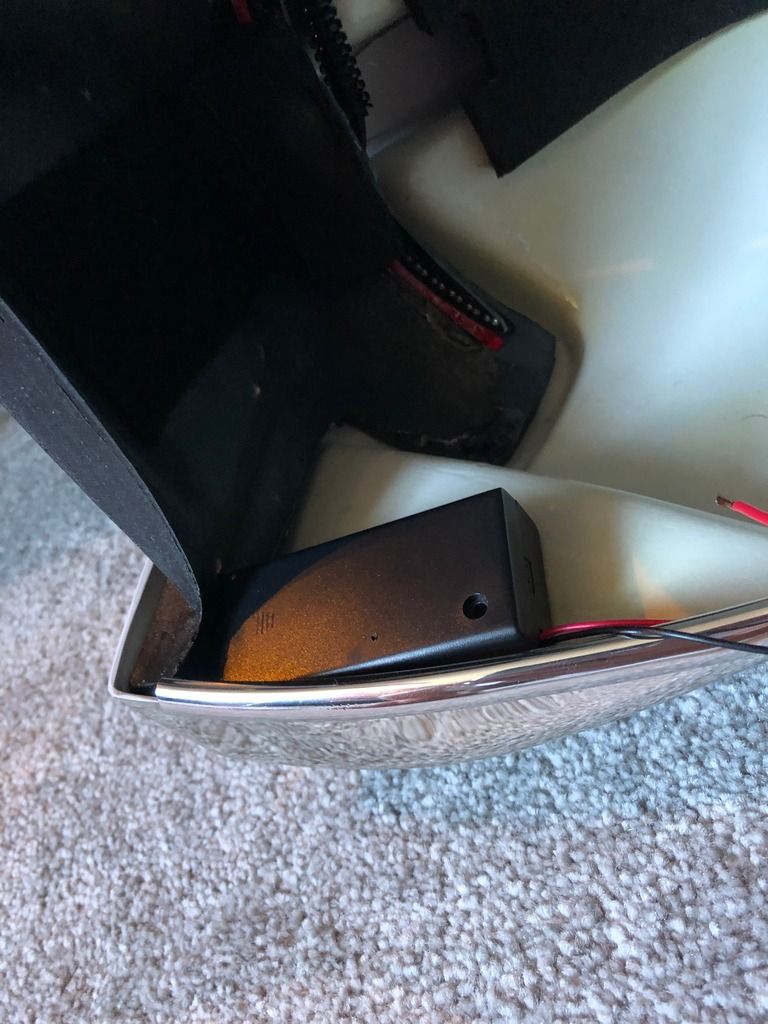
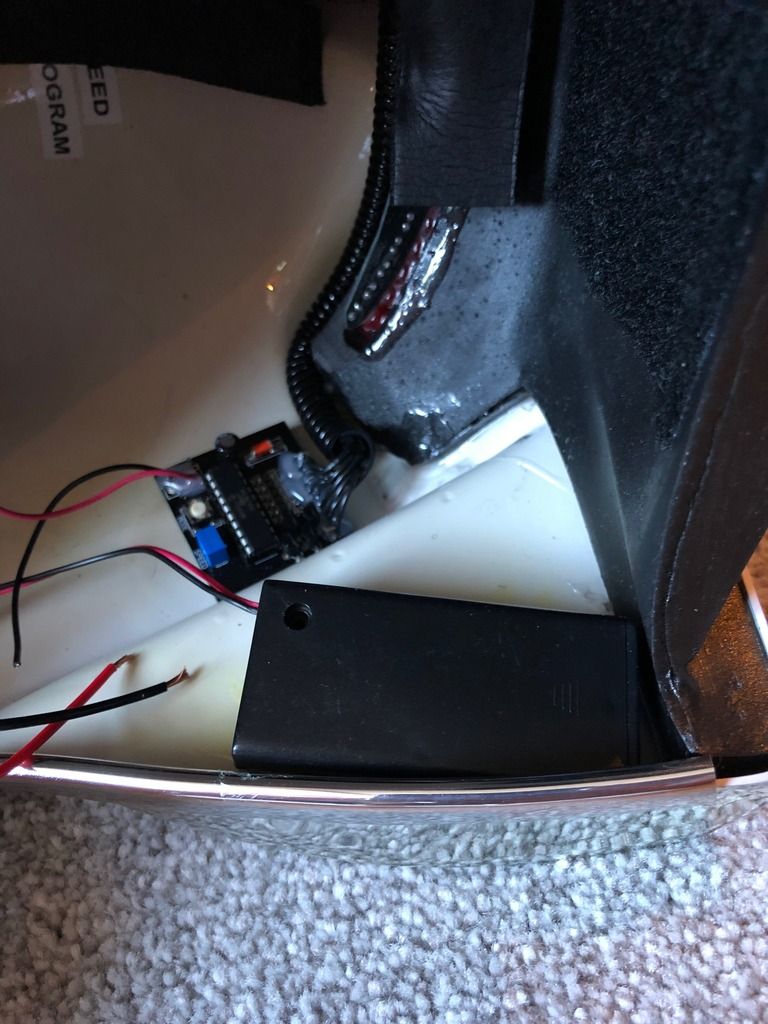
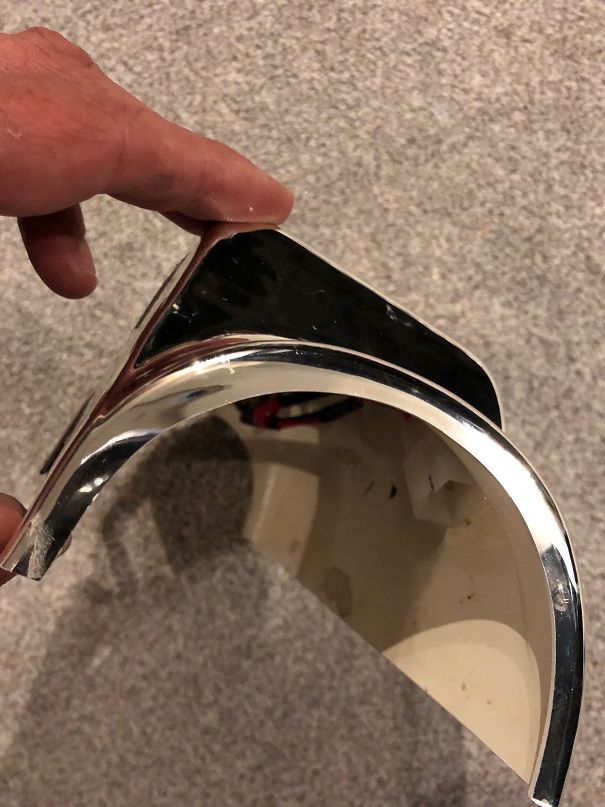
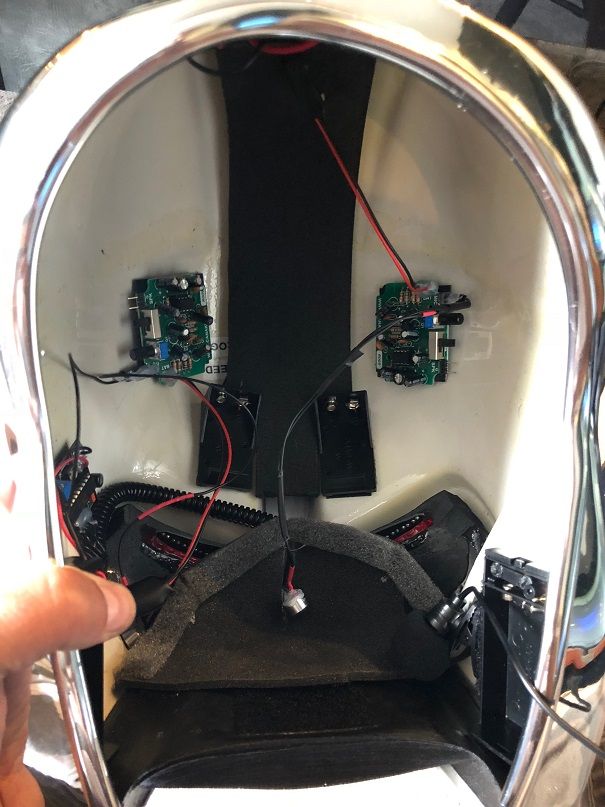
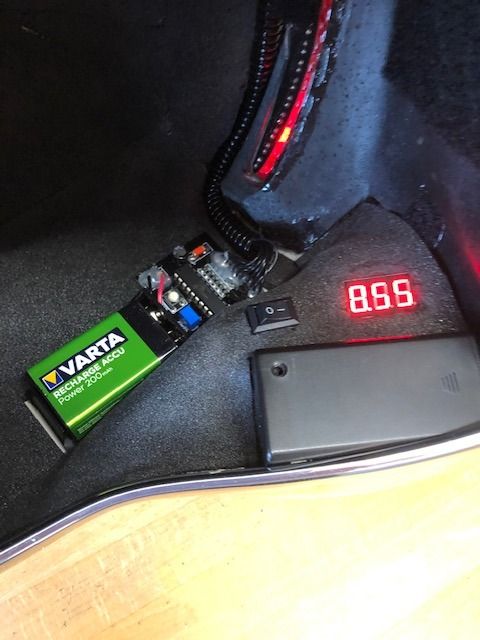
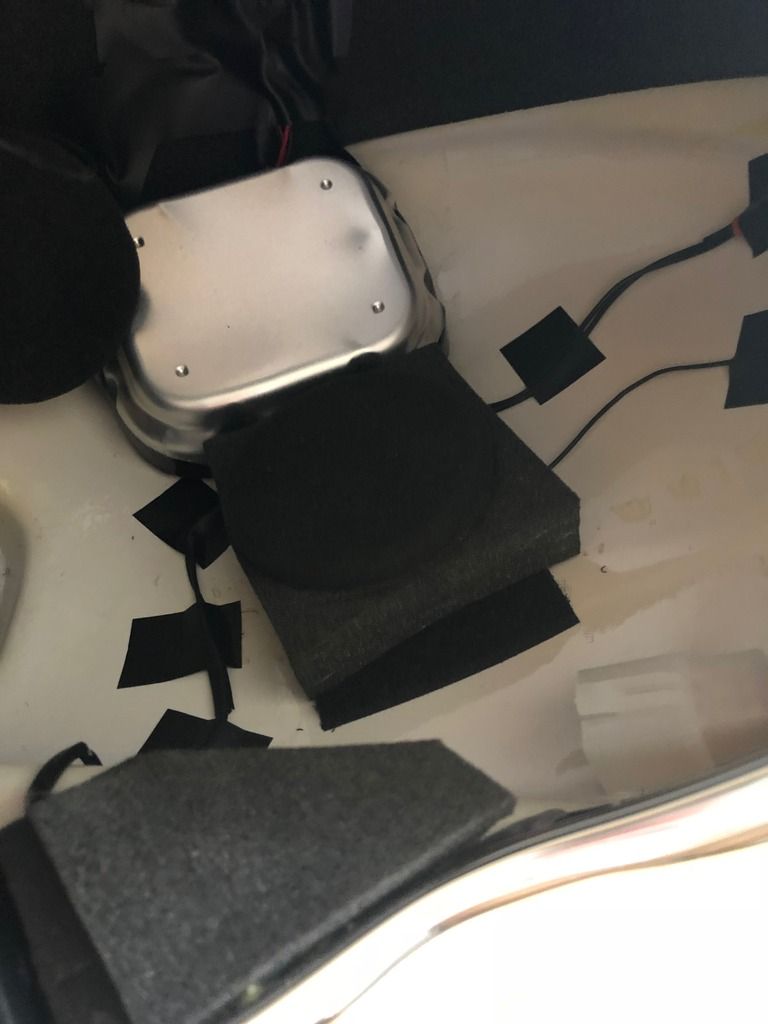
So, because the amp boards are considerably larger than I hoped, I found a couple of old metal cases laying around in the garage that covers the boards perfectly... 4 x 6 x 2 cm
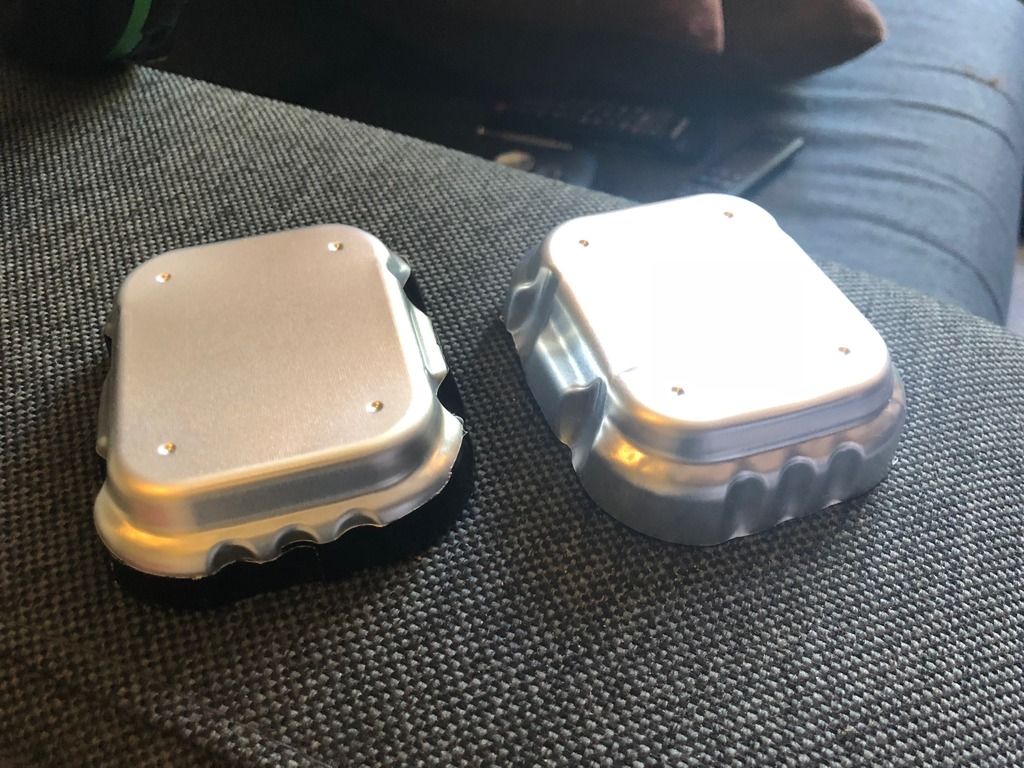
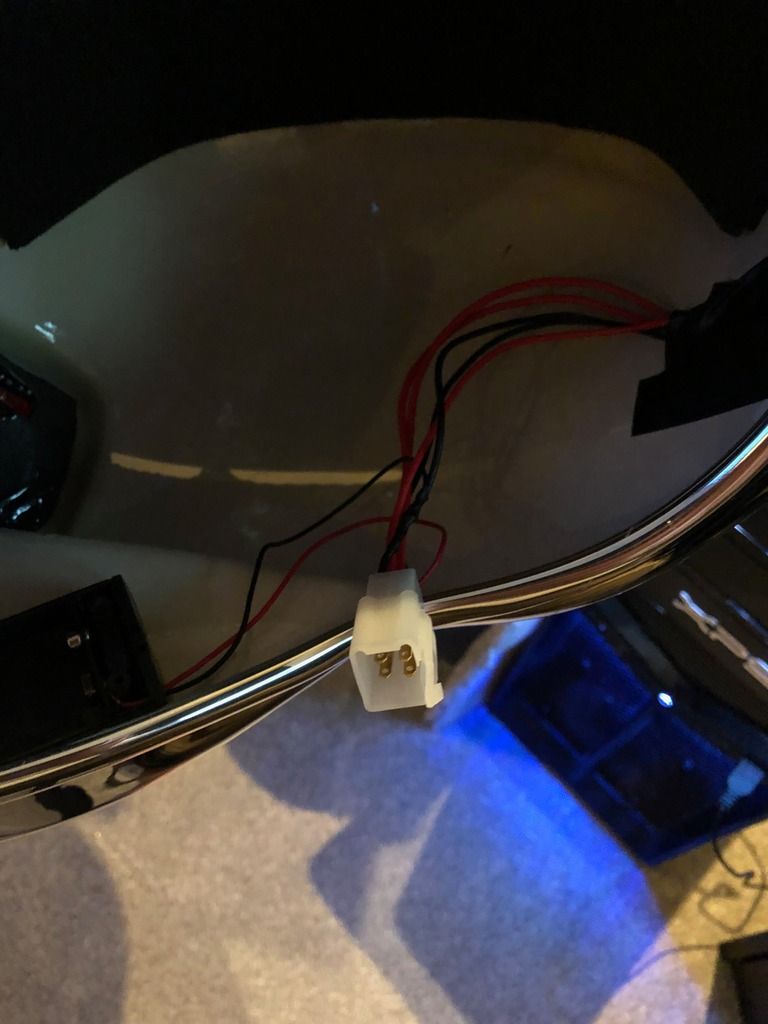
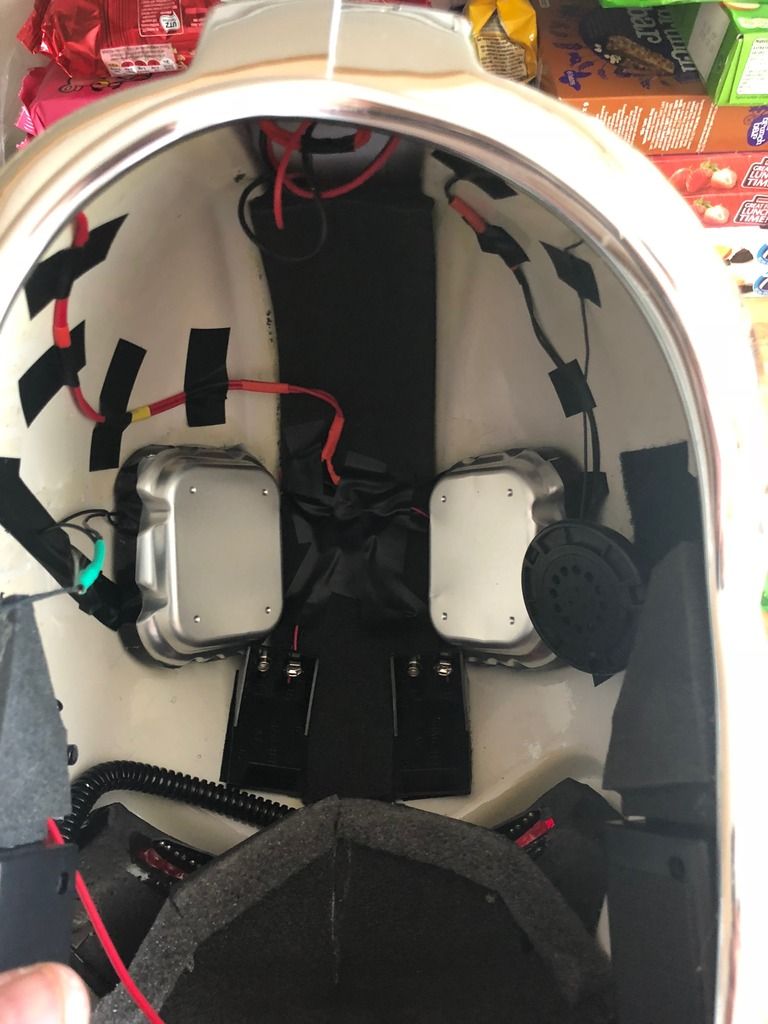
as you can see although they look pretty rubbish where they are, and with loads of wires now secured, when I have the acoustic padding in there, I'm hoping this will look a lot tidier...
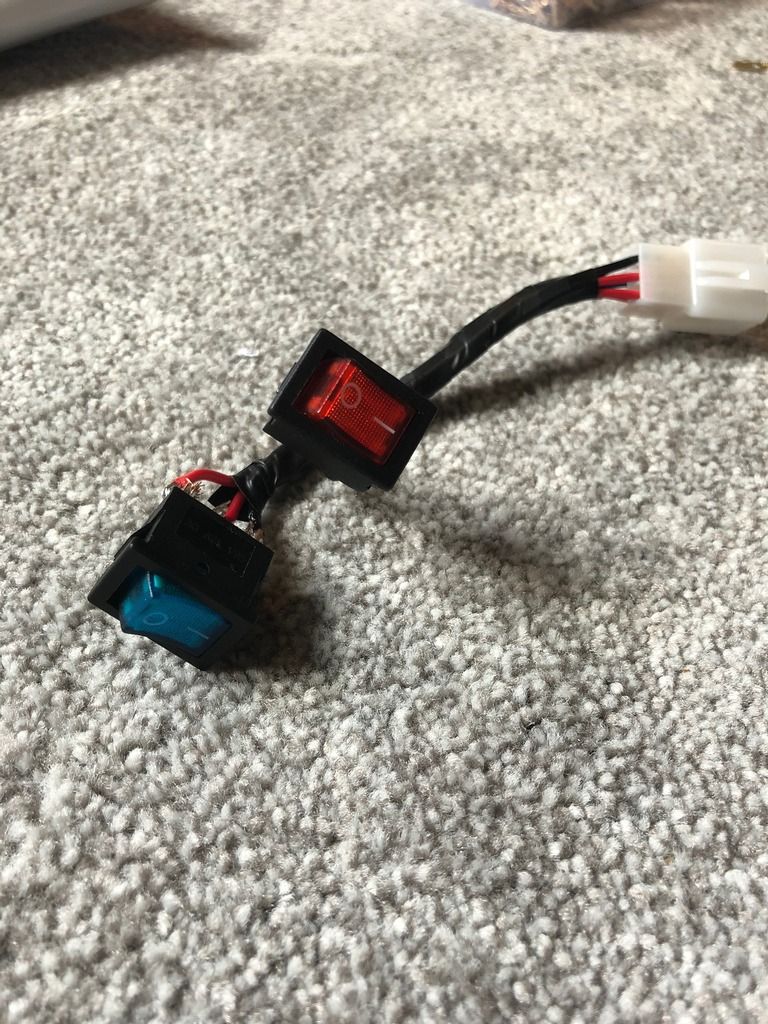
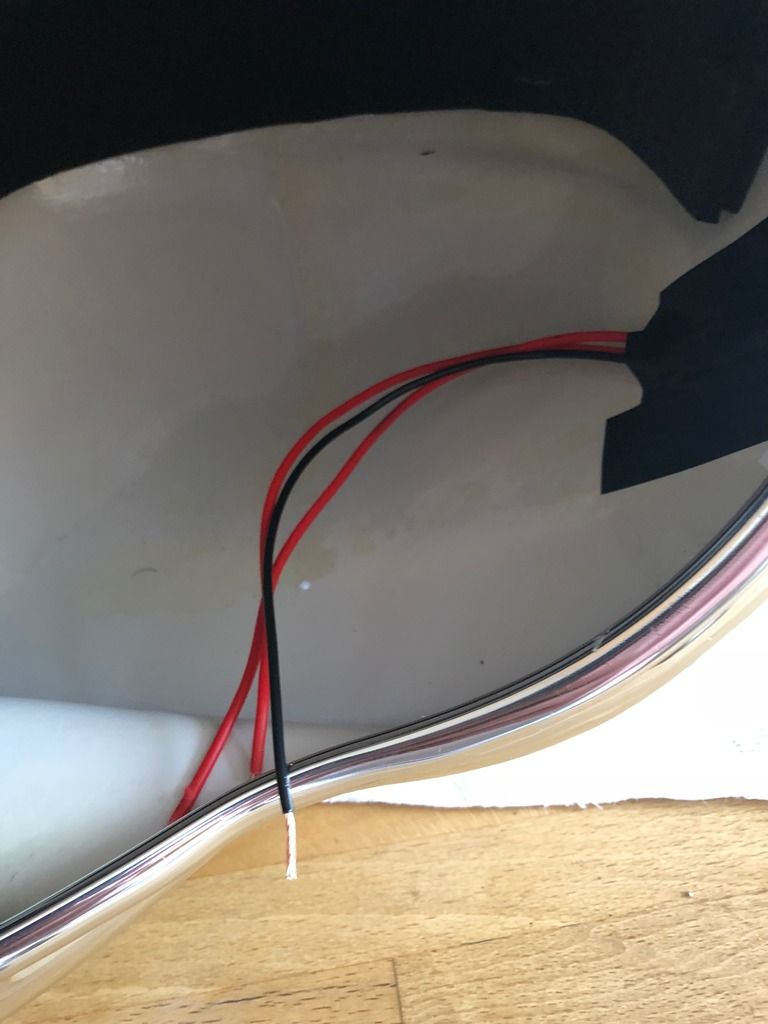
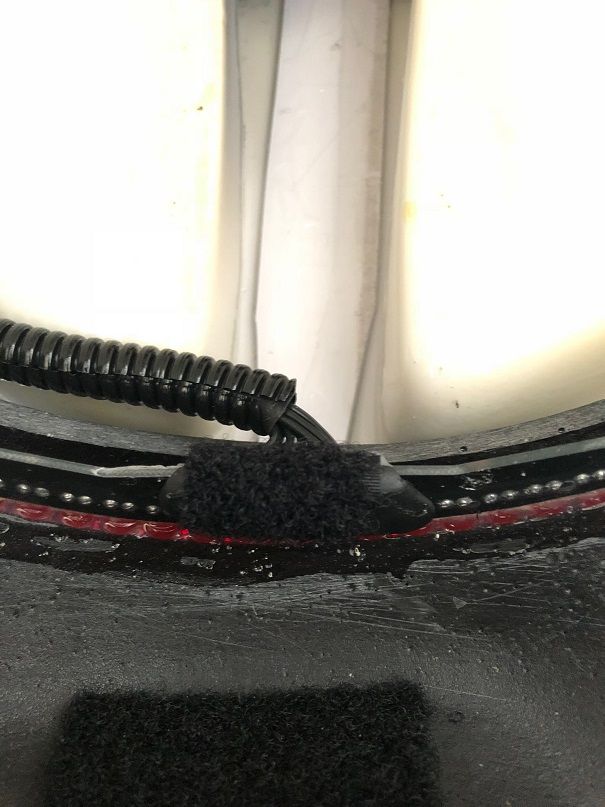
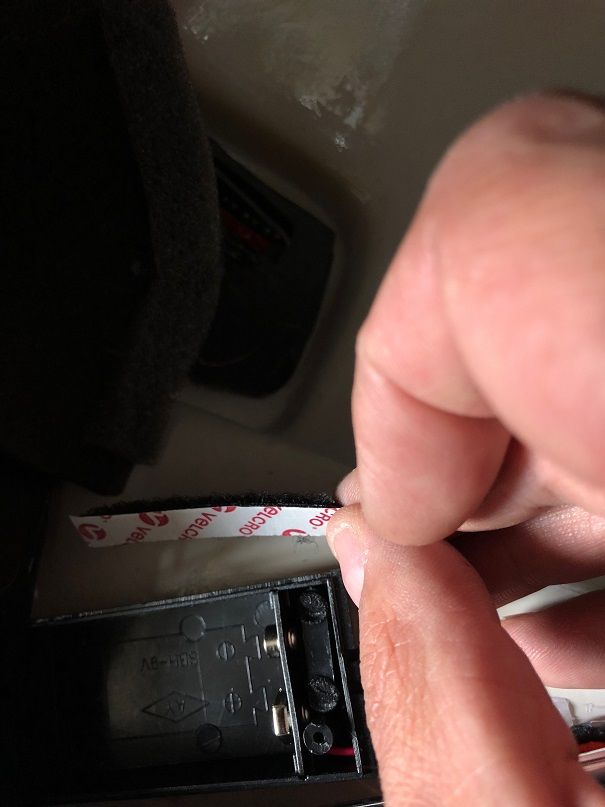
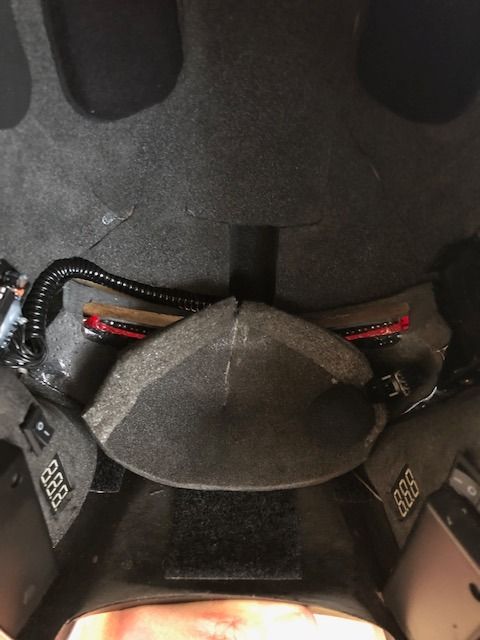
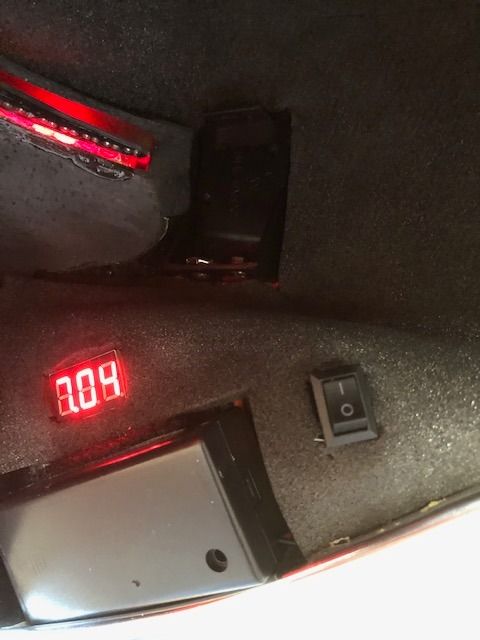
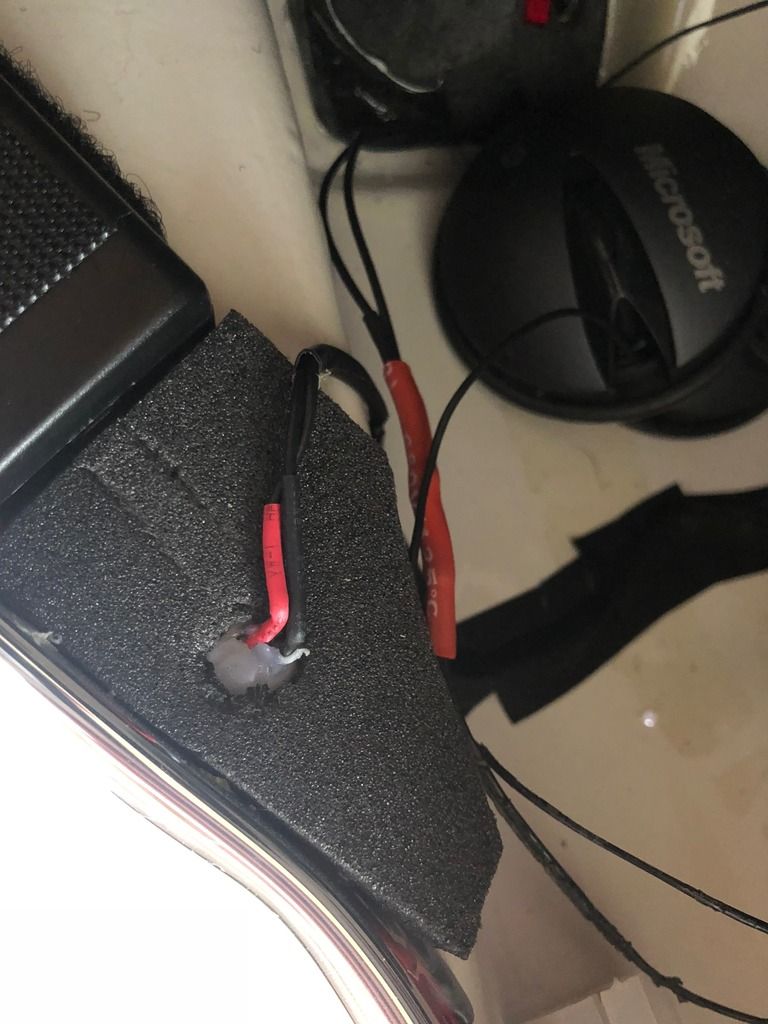
Incidentally, the two battery pack are wired in parallel, (+ and +) and (- with -) to give more amps/ph. I'm waiting for a voltage meter (flat LED about 2 cm in size, where I'm placing inside on the mouth guard. Also on the inside of the mouth guard I'm placing a switch, so when I switch on , it'll give me an indication how the batteries are doing.
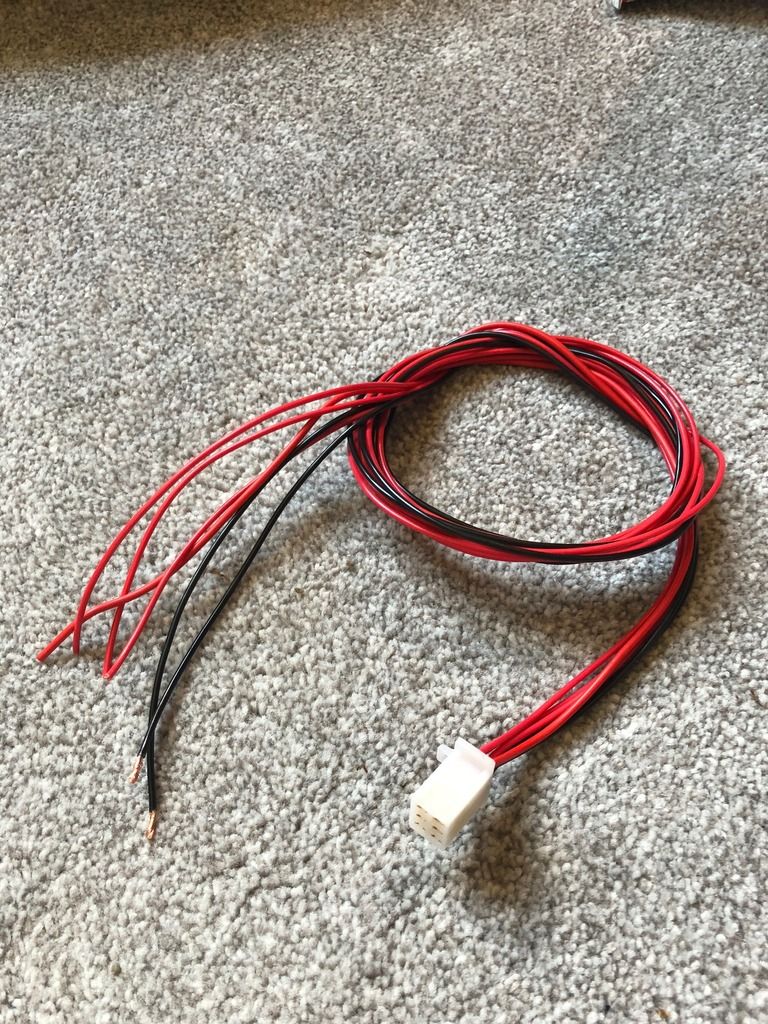
The red wire you can see at the bottom of the picture below is ready for voltage meter and switch when they arrive from ebay!
As I mentioned before I'm looking at placing the mics in a different place and where I was originally fitting them, well, the earphones are going there and the feedback would be too much, and I'd likely get a little noise from the scanner.mp3.
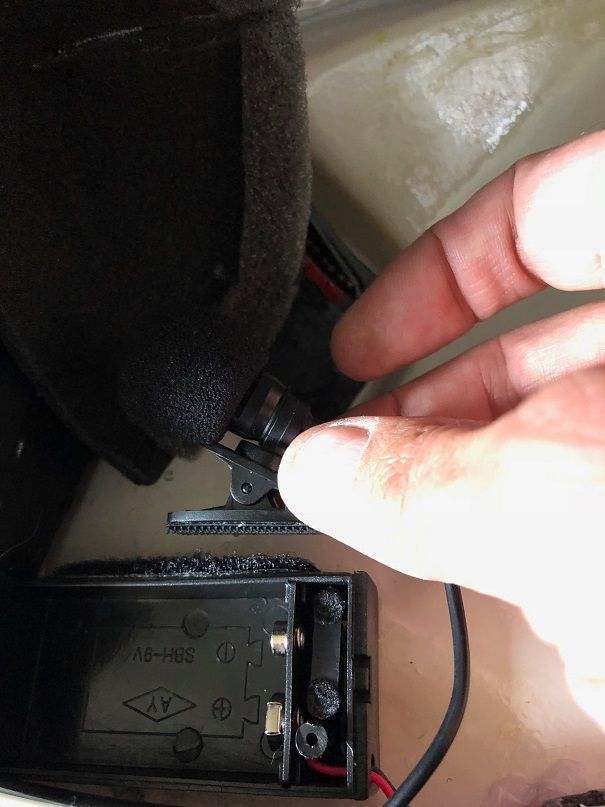
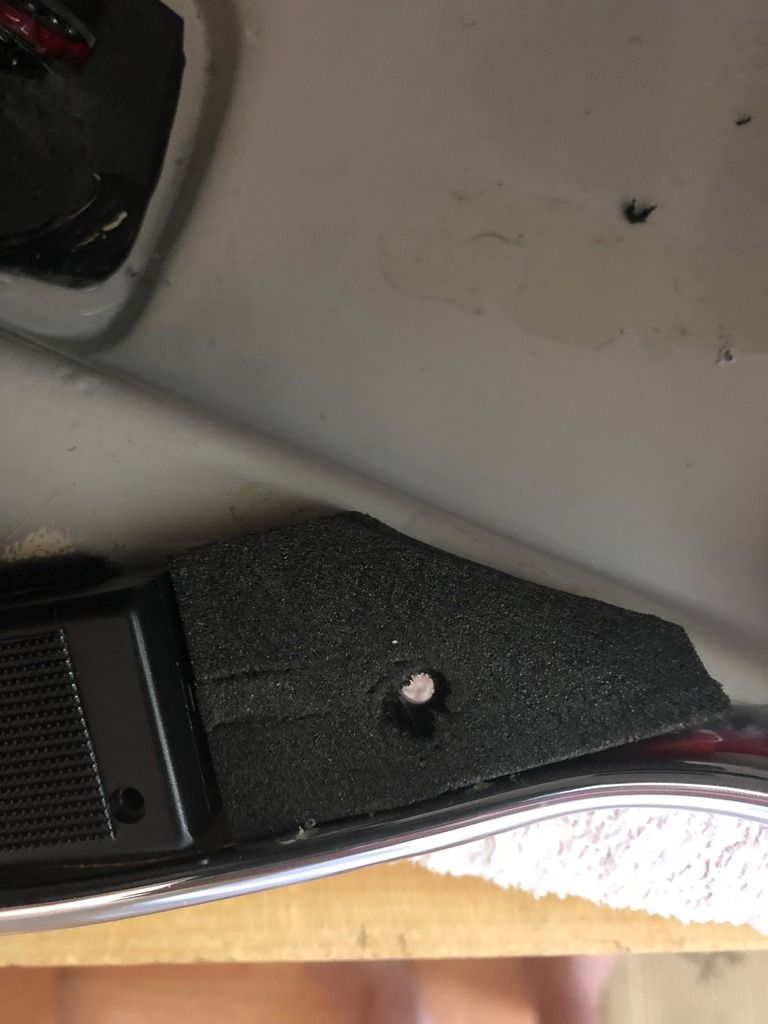
So.. I found the perfect spot. I've placed the Mics on the lower part of the cheek in the back corner. Why?
Well, it's pointing upwards by a few degrees, and I'd get no feed back from the Roland VT-3 or the Scanner.mp3 so this kind of made perfect sense.
Also rather then drilling 1 mm hole for the mics, (the mics on the newer amps are bigger) I drill a hole 1 mm
Larger than the new mics and used 3 layers of foam board with holes for the mics to sit in, and another last layer to hide the wires and keep everything secure.
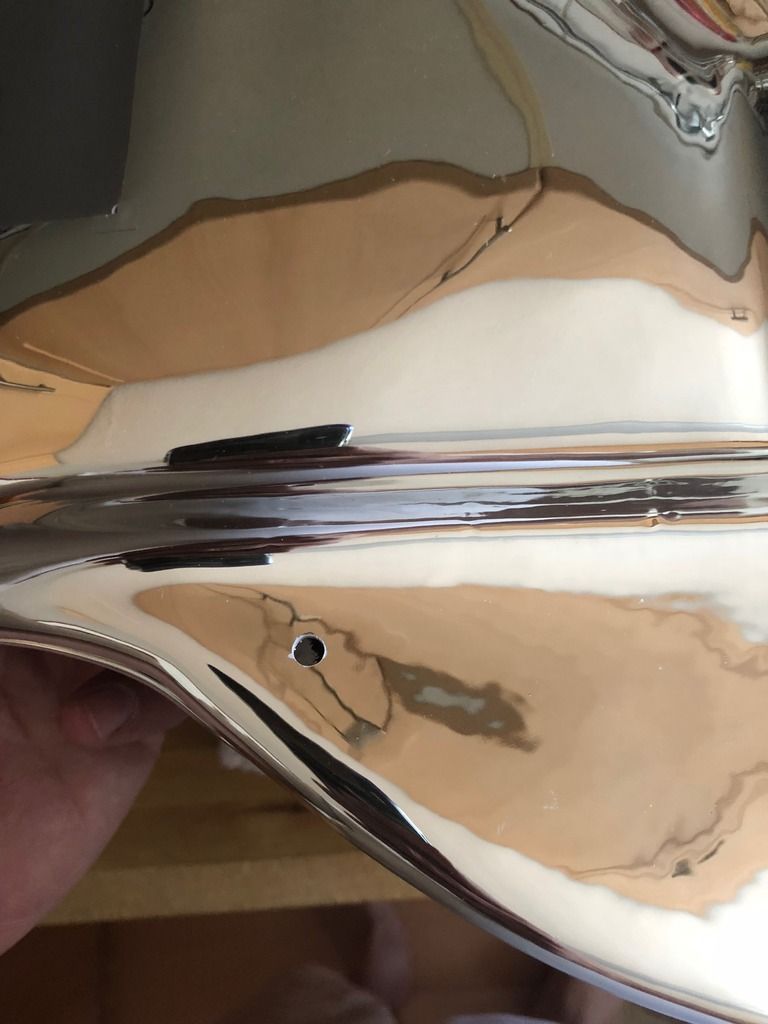
The newly drilled hole will be covered by mylar chrome tape which actually doesn't hinder the mic pickup much.
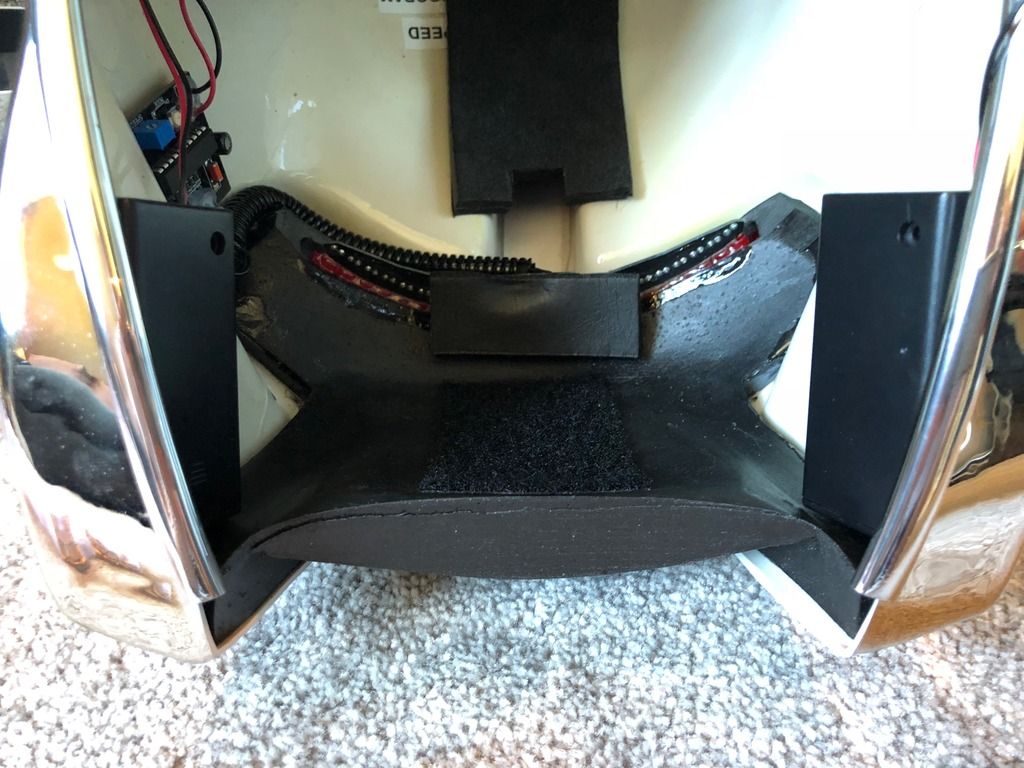
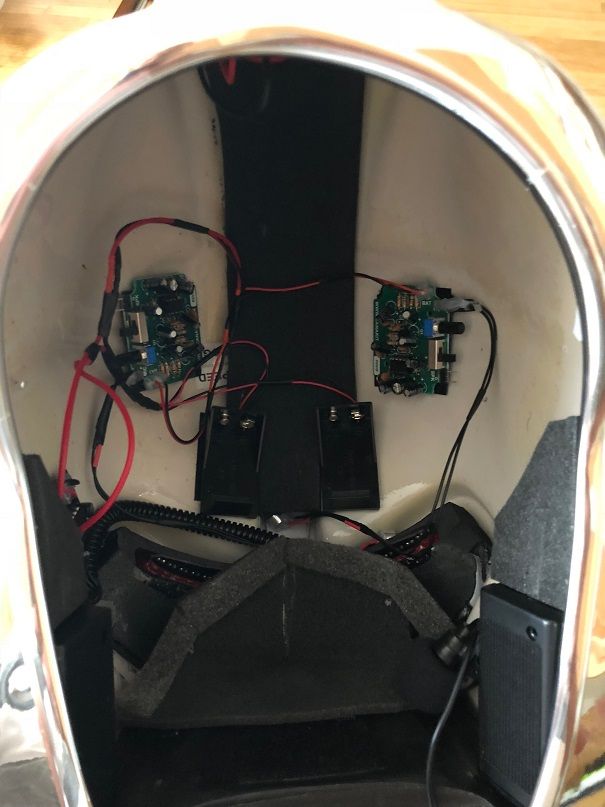
So then, with the battery packs in place, the amp boards secured, and wires buckled down, speakers wired in to the amp boards, amp board covers in place it's time to work on the speakers.
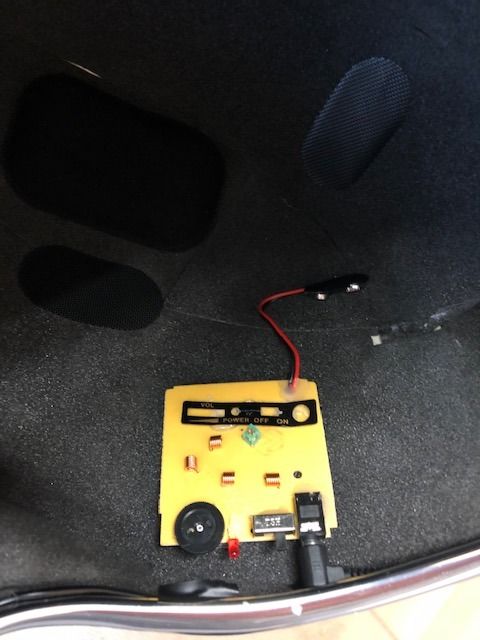
I salvaged my old Microsoft speakers which sound pretty good with the diffuser on so I got to work destroying them!

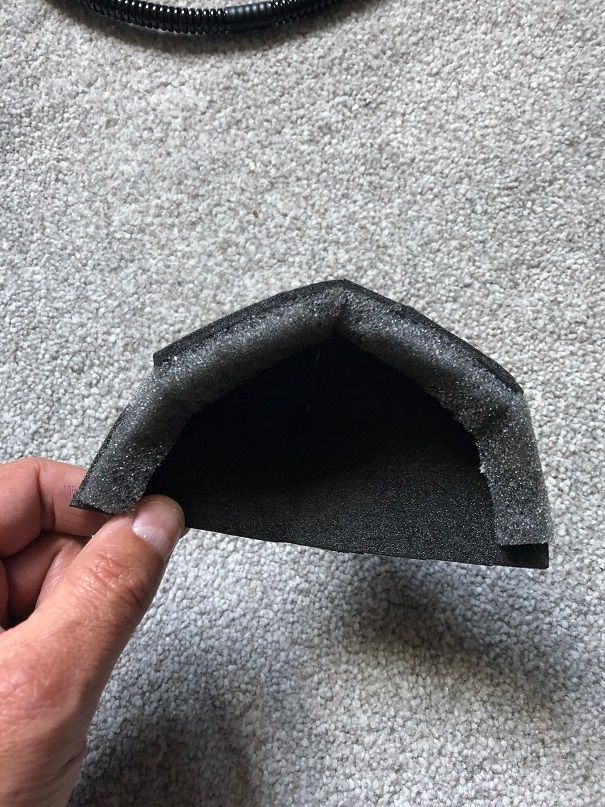
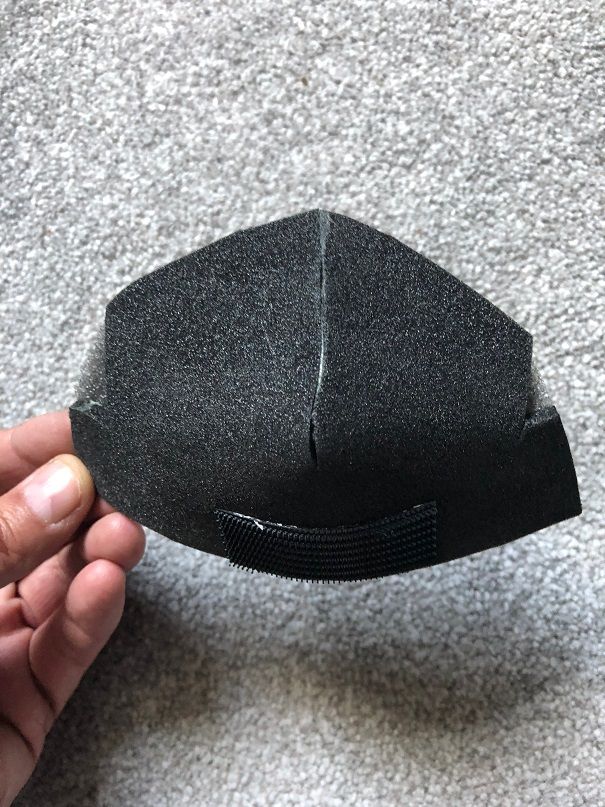
Using the Mic process,I layered 4 model foam cut outs with a hole just smaller then the width of the body of ear earphone and gauged where my ears will be. I then stuck them all together, and secured to either side of the helmet with Velcro. I used 4 as this is the perfect distance from the side of the helmet to where my ears are. IT's like I'm wearing the headphones. If I had a larger head, obviously I'd use less board layers and vice versa for a smaller head.
Speaker 1 in place. Speaker two is secured in the same fashion.
All that's left to do now, is fill it with padding to make it snug. The templates I'll make from paper, and when the acoustic foam arrives, I'll make 3 templates for each side of the helmet and the rear.
When all is done the only thing left to do is spray the mouth piece a mid grey (not black!) and give the thing a polish.
More later guys