Re: Building my Cylon-Knight
Posted: Sat Sep 10, 2011 10:12 am
Cool stuff! 


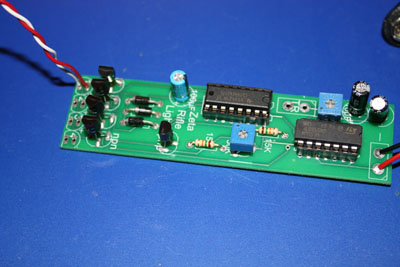

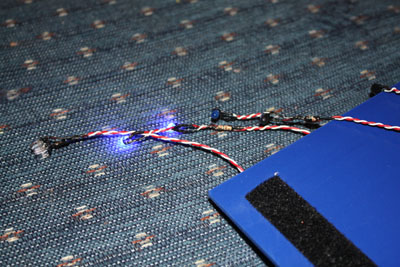
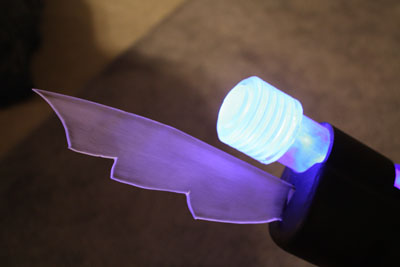
Thank you Zeta!!! The rifle is sooo nice with it's lights - thanks to you!groupleaderzeta wrote:looking great
Thank you Red Eye. You know I will continue to post large amounts of rambling updates - and photos is my middle nameRed Eye wrote:AMAZING work as usual! Please keep it coming.
Say, could you tell me anything more about the vinyl you got for your under suit?
Is it gunmetal in color?
Thank you jclayman99! Happy to keep my friends posted on the (littlejclayman99 wrote:Looks fantastic. Once i get over my Pneumonia I plan to finish mine up as well.
So say we all.Cylon-Knight wrote:Thank you Zeta!!! The rifle is sooo nice with it's lights - thanks to you!groupleaderzeta wrote:looking great
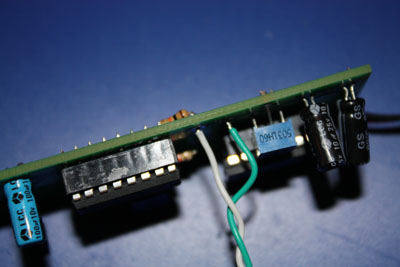
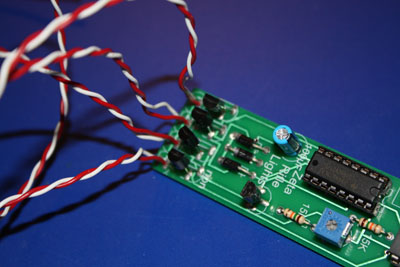
Everyone: the groupleaderzeta rifle light kit is Cylon-Knight Mind APPROVED!
Thank you Red Eye. You know I will continue to post large amounts of rambling updates - and photos is my middle nameRed Eye wrote:AMAZING work as usual! Please keep it coming.
Say, could you tell me anything more about the vinyl you got for your under suit?
Is it gunmetal in color?
And, yes, the vinyl is as close to gunmetal as I could find.
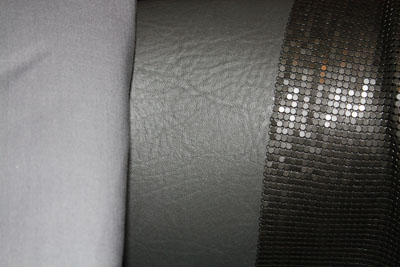
Here is the happy trio of my fabrics. For all the purists... I know they are not EXACT 1:1 matches in color or fabric -but- I 'm a Cylon and I do what I want!
Left third: The base fabric, a light gray. Missing the slight "plumb" color, but this is all I could find and am done trying to find something better for now. Eager to get under suit #1 started.
Middle third: The vinyl, a gun metal (dark) gray the next darker color choice was black. And lighter was about exactly the same as the fabric above. So this was the way to go.
Shout out to Mrs. Cylon-Knight - I got 4 yards of this vinyl for the price of 2 with a 50% coupon she got me. $80 worth of fabric for only $40. w00t
Right third: The metal mesh skirting. It has about 14 different shades of gray when the light hits it!!! ... but you can see "overall" its an okay match to some of the little squares that are not reflecting.
I think it'll make an okay suit. I hope it will turn out more how the actual suit did on screen. It did not look plumb - but gray. The red tints were lost on screen and I think everyone remembers a gray/black Cylon. We hard-core builders know that's not the case... but I am too lazy/cheap/tired of looking for 1:1 fabric at this point in time.
You think it looks okay, Red Eye?
Thank you jclayman99! Happy to keep my friends posted on the (littlejclayman99 wrote:Looks fantastic. Once i get over my Pneumonia I plan to finish mine up as well.) progress I make when I do get some done.
Yikes! Pneumonia! Don't mess with that - take care, rest up and get well. SO SAY WE ALL!