Page 3 of 5
Re: MY TURN... (or "So it Begins...")
Posted: Sat Sep 05, 2015 11:39 am
by FLIGHTLDR SERPENTINE
Do you think it is ok if the shoulder bells are assembled before plating?
I screwed up one on each side, so I kept the top one of each and added strips to the backside to come down a bit below the top ones, and added a little gap. They look fine, (pics soon) but just wondering if the plating will get up inside or not? Otherwise I better get new sets of bells and begin again.
TBH, getting these shoulders trimmed right has been the most difficult part, so far. I'm not looking forward to gluing the backpack, though.
Re: MY TURN... (or "So it Begins...")
Posted: Sat Sep 05, 2015 11:46 am
by GoldCylon
You can do either or. Just run a bit of tape on the back side of the top piece where you are going to attach the the trim before chroming so you will have a surface that won't peel the chrome off, and a better surface for the mounting material to adhere to.
Re: MY TURN... (or "So it Begins...")
Posted: Sun Sep 06, 2015 1:56 am
by FLIGHTLDR SERPENTINE
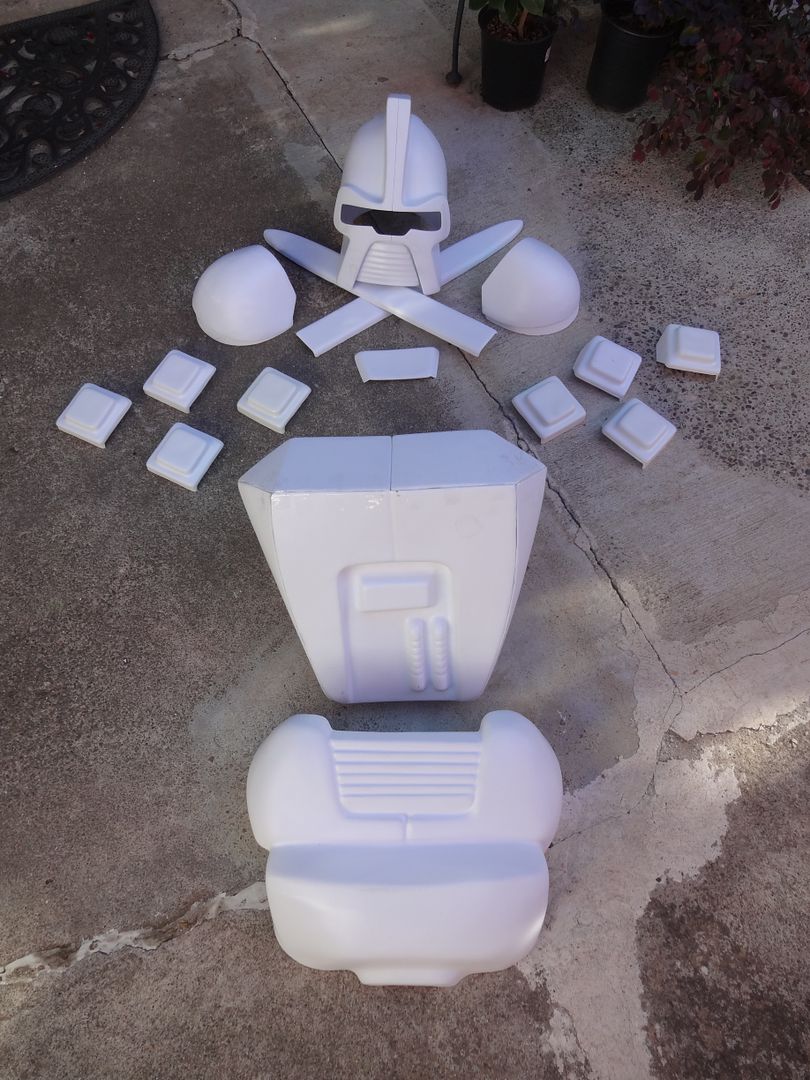
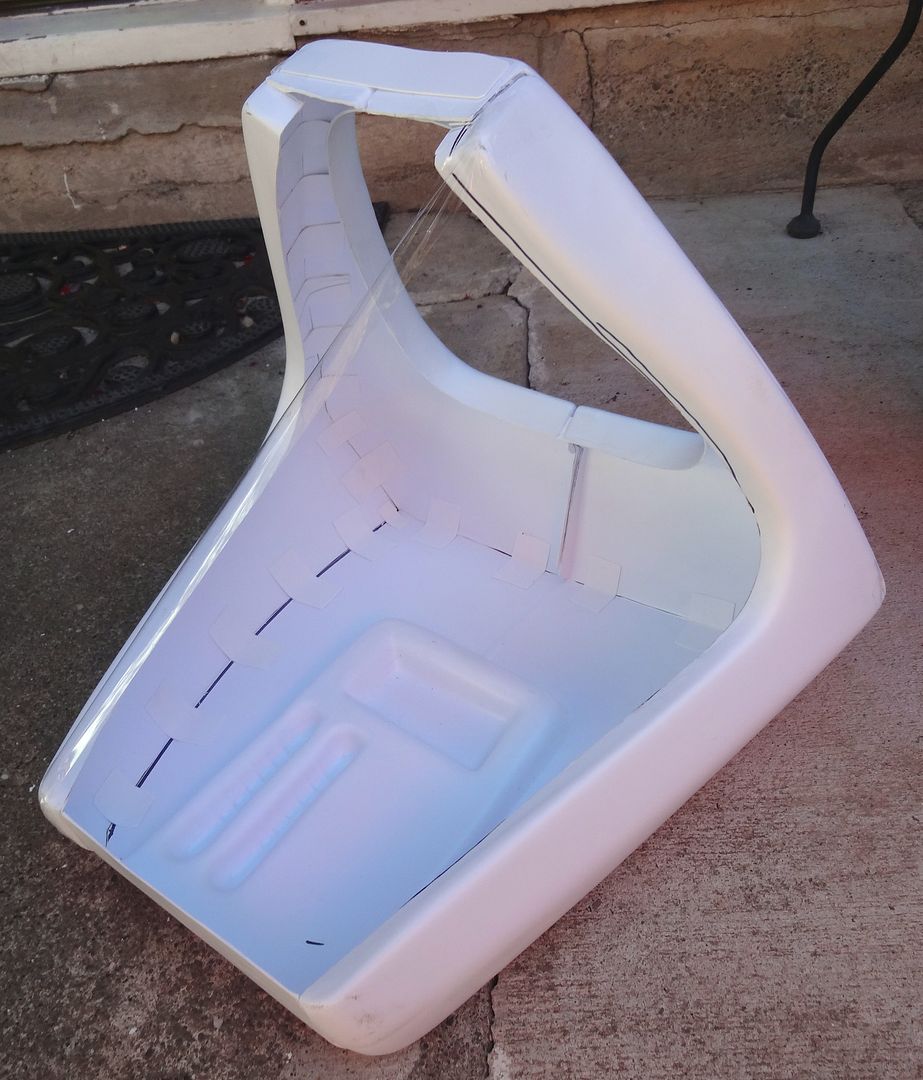
Today's progress. I'm not done with the backpack yet. But generally, all the trimming is now finished.

And the shoulder bells:
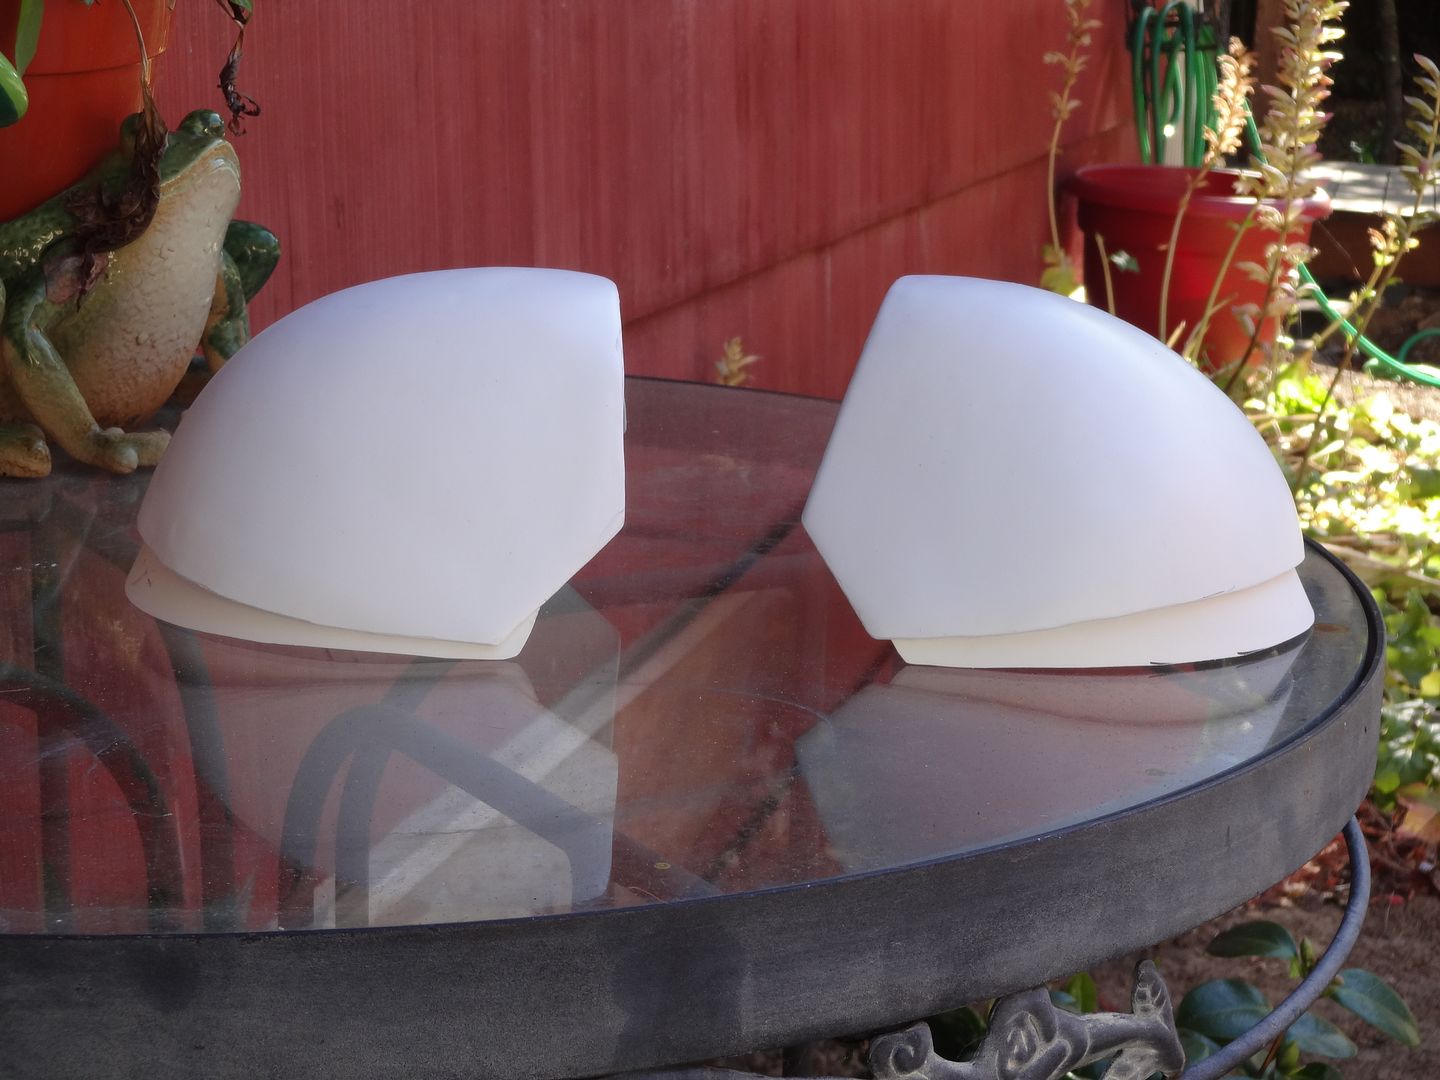
I think they look ok. But they are now permenantly glued like this. Is that ok for plating or do they need to be seperate for plating? I don't think they're supposed to really move independently are they?
Re: MY TURN... (or "So it Begins...")
Posted: Sun Sep 06, 2015 3:08 am
by Red Eye
Good work!

As for the shoulder armor, mine were assembled too when they were painted.
I don't think it would cause any problems.
Re: MY TURN... (or "So it Begins...")
Posted: Sun Sep 06, 2015 9:23 am
by FLIGHTLDR SERPENTINE
Cool. Thanks for the input!
I'm gonna do a little more today. Mostly finishing assembly of the backpack/neckring, and the gauntlets and stuff. The original gauntlets/arms and ankle armor was not permeantly glued together, from what I can tell; but there really shouldn't be any reason why mine can't be, right? They should slide right on?
Re: MY TURN... (or "So it Begins...")
Posted: Sun Sep 06, 2015 9:58 am
by Red Eye
Right, the originals were hold together by velcro like clamshell.
But when fusing them as single units, be sure that they slip on without any problems. Don't make them too narrow.
Re: MY TURN... (or "So it Begins...")
Posted: Sun Sep 06, 2015 11:07 am
by FLIGHTLDR SERPENTINE
Yes, good point.

Re: MY TURN... (or "So it Begins...")
Posted: Sun Sep 06, 2015 5:49 pm
by FLIGHTLDR SERPENTINE
Aw man. None of those parts are going to be able to slide right on! I better make them velcro-closeable, at least on one seam…

Got the backpack solidly glued (not seamed yet), except for the front cap. I may have to make one from scratch as the one that comes with the armor is too shallow and not quite wide enough…
Re: MY TURN... (or "So it Begins...")
Posted: Mon Sep 07, 2015 8:16 pm
by FLIGHTLDR SERPENTINE
So… sanding. Mailnly for a better, smoother lustre once plated, right? What about the primer? Do you sand the primer smooth, too, like as if you were going to paint it gloss? And how about adding a patch of masking tape on the undersides where velcro will eventually be added?
Re: MY TURN... (or "So it Begins...")
Posted: Mon Sep 07, 2015 9:07 pm
by GoldCylon
A good primer is nice. It will help break the barrier of the body oils from your skin that have come in contact of the period of making the backpack. There isn't anything you can do to remove all the residue of those oils. It can be dulled at best, and most likely will never be seen by anyone or even yourself. Orange peel or fish eye is one of the other defects. Over all there with be imperfection, but a good HOT primer sanded in stages to 500 grit wet sanding will give you the best results. I didn't mean to scare you but caution you. Go to a autobody paint shop to get a HOT primer paint or ask them how to mix a two part system to make it hot.
Re: MY TURN... (or "So it Begins...")
Posted: Mon Sep 07, 2015 11:40 pm
by FLIGHTLDR SERPENTINE
Ok, "hot" as in catalized… Why is it better than the standard sandable spraycan primers like Krylon?
Re: MY TURN... (or "So it Begins...")
Posted: Mon Sep 07, 2015 11:57 pm
by GoldCylon
The hot will help burn down the oils a bit, but be careful not to get it to hot. You could warp or even melt the plastic. Yes the catalizer.
Re: MY TURN... (or "So it Begins...")
Posted: Tue Sep 08, 2015 6:47 pm
by FLIGHTLDR SERPENTINE
Ok. So would an automotive store carry this primer or is it a specialy item that I must order somewhere… and it sounds like a spray gun setup then?

Re: MY TURN... (or "So it Begins...")
Posted: Tue Sep 08, 2015 8:47 pm
by GoldCylon
Yes you will need a spray gun to apply it. A full service automotive store will have it. Also something to think about if you're not a painter just farm it out to a automotive repair paint shop. A few $$$ more, and it will be nicely done without the hassles.
Re: MY TURN... (or "So it Begins...")
Posted: Tue Sep 08, 2015 9:32 pm
by FLIGHTLDR SERPENTINE
Interesting idea. Thanks Dale.