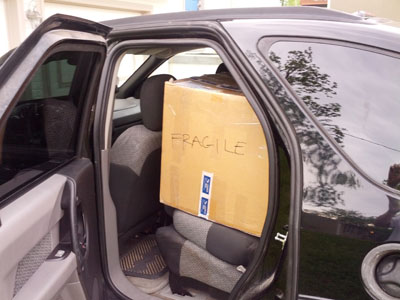
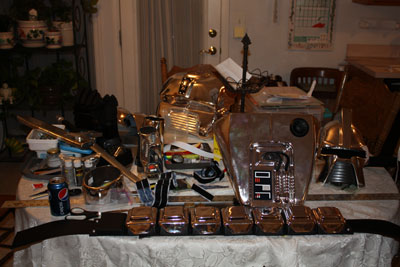
Okay, I lied, photo 600 is not "Cylon-Knight" but the Chromed Cylon-Knight coming home in the box/car... the BIG "WHOOO" fully suited up photos are out on the web now, but for the time line of my build thread - here are (were?) the last few cRaZy days leading up to Galacticon 3 where I HAD to be done in time to fully suit up and crush the Colonies of Man (duh)

And here we go... PHOTOS! OR IT DIDN'T HAPPEN!!!!

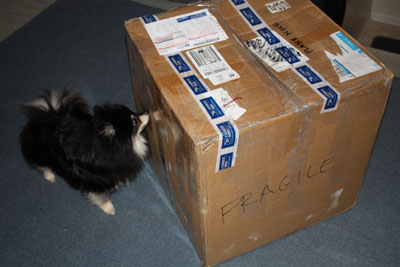
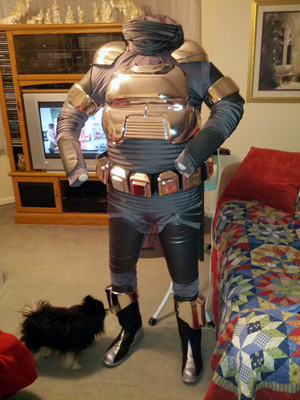
Left: HOME!
Right: Cylon puppy is right at the door to welcome Cylon-Knight back home!
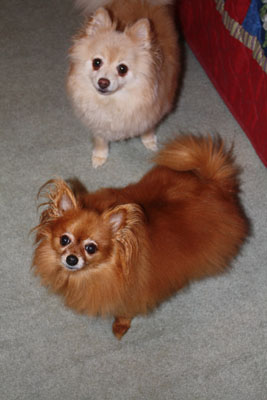
Left: ALL the Cylon Puppies have come to welcome Cylon-Knight back home!!
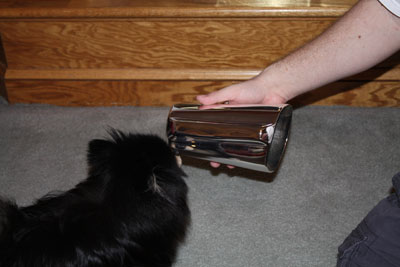
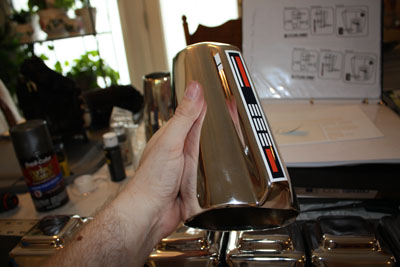
Right: Chroooooooooooooome - Cylon Puppy can see his own puppy face in it!
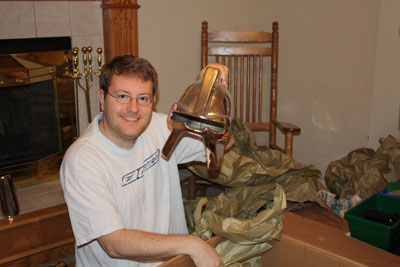
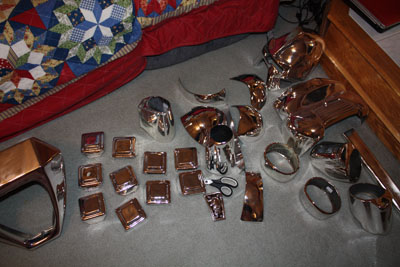
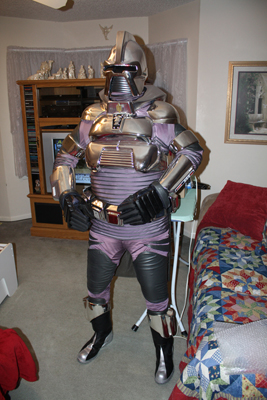
Left: Me Likey. Cylon-Knight, meet Cylon-Knight


Right: Chroooooooooooooome
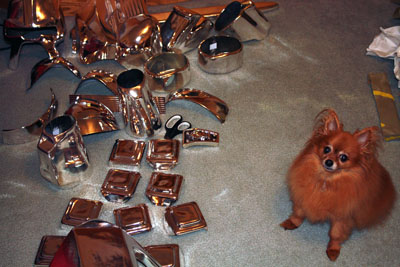
Cylon Puppy loves chrome chrome chrome chrome
Okay, chrome, blah blah

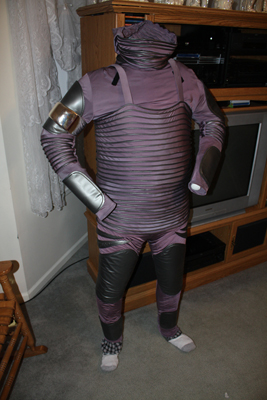
GOT TO GET THE REST OF THE SUIT READY!!!!
HURRY GALACTICON IS COMING IN LESS THAN A WEEK!
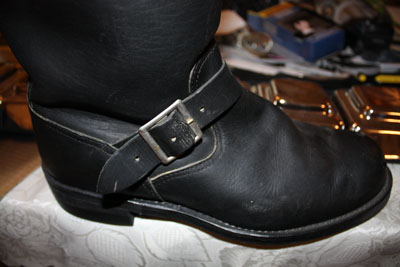
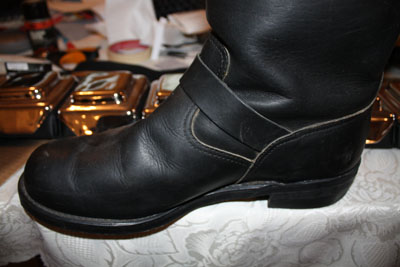
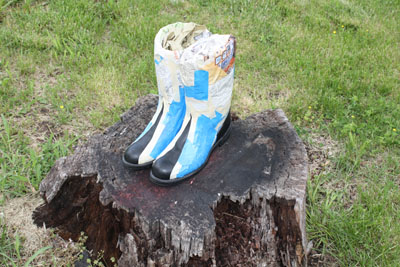
Left: The Boot, ready to CUT.
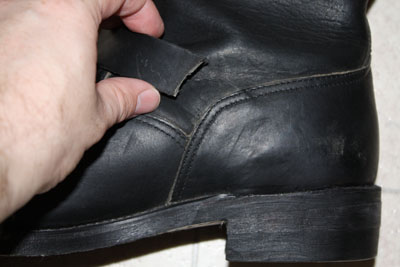
Right: CUT!
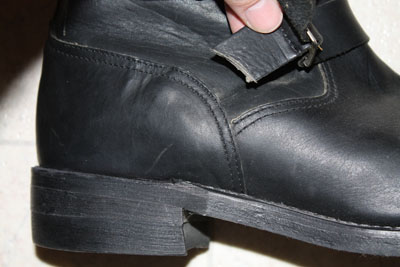
Left: The Boot, other side, ready to CUT.
Right: CUT!
...then repeat on the other boot
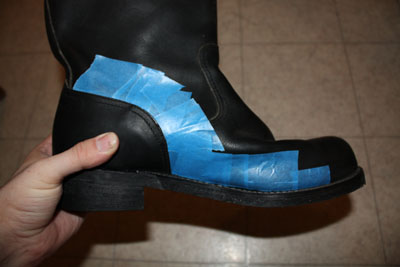
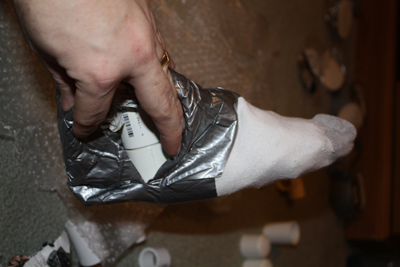
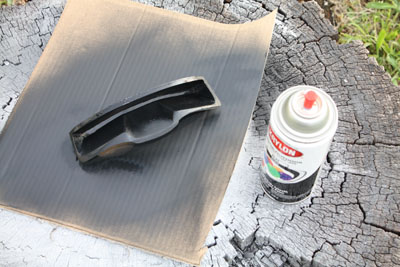
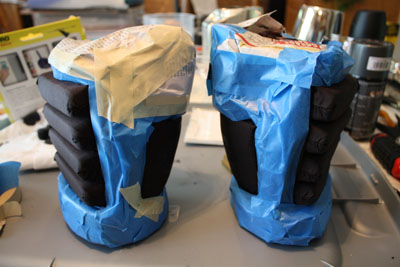
Left: HURRY! HURRY! (out of breath...) Mask the boot to paint on Cylon Evilness
Right: GO GO BOOTS! (Not that kind of go go boots! LOL)
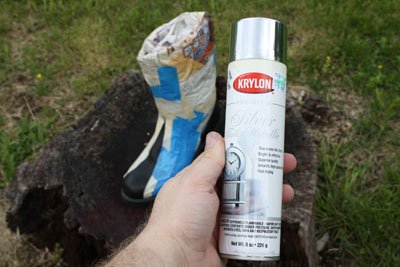
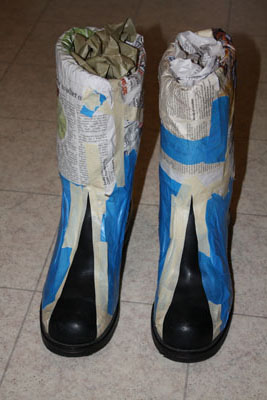
Left: Out to the paint booth
Right: My chrome paint - Krylon Premium Silver Foil Metallic ($5.49 @ Hobby Lobby)
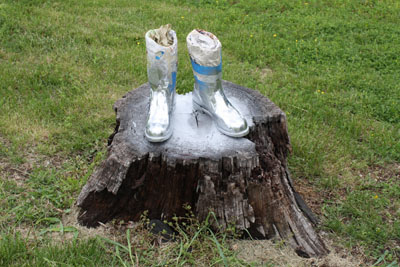

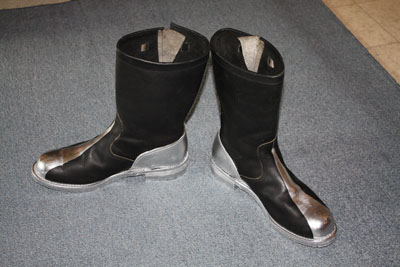
Left: Oh yeah. SPACE SHOES!
Right: "Houston - This is one small step for Cylons and one giant leap for Cylon-Knight."
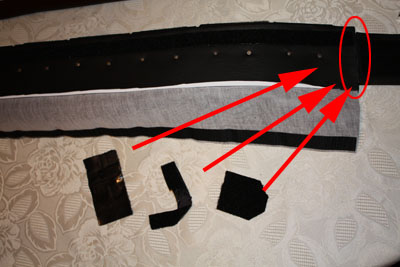
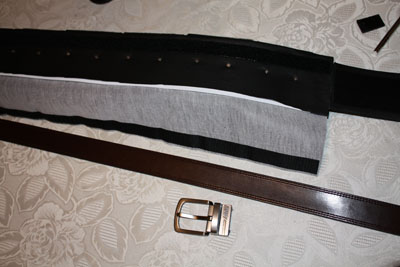
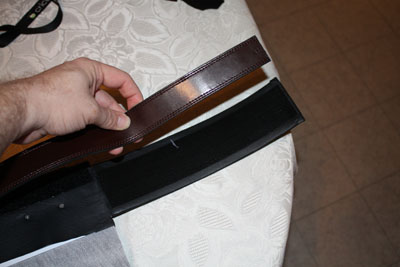
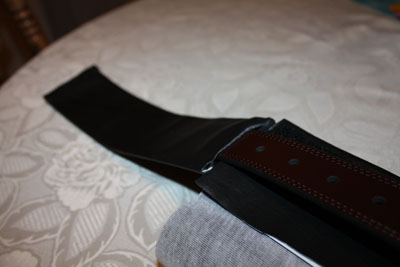
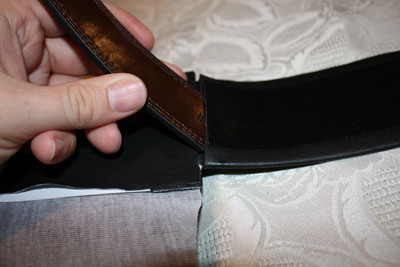
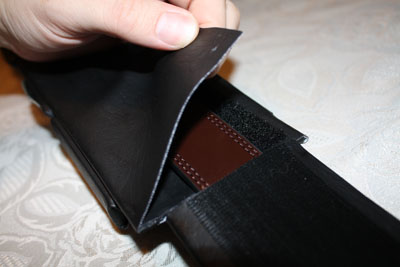
Left: Back inside - boots drying - HURRY! The Belt Velcro is going on
Right: More belt cap Velcro goes on. It worked PERFECT. I never had any issues with my caps at Galacticon 3
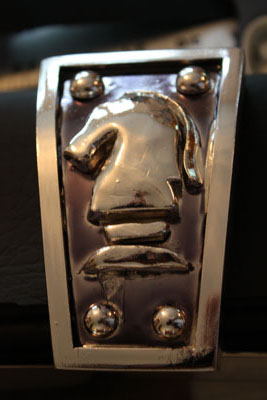
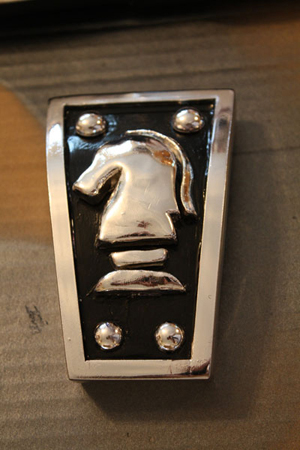
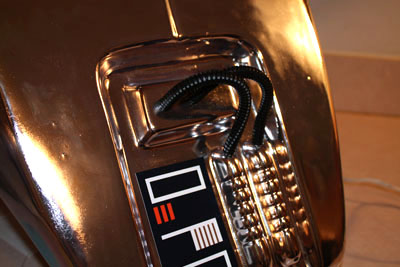
Left: The Chrome shop did some good work on a black chrome tint on my Knight Chest logo, but it was a bit faint on the edges and it had a goof under the logo.
Right: I touched it up with gloss black paint, and I must say the extra "POW" in contrast is exactly what I wanted. SWEET!
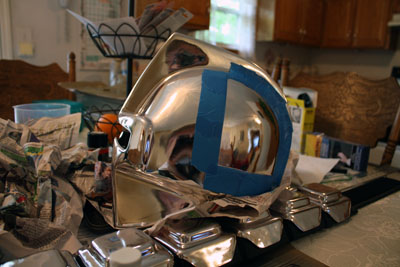
Left: Yikes I'm SCREAMING ALONG! On to the helmet now... mask that baby up!
-okay- In between the left and right photos I dropped my helmet.
:frak:
It was masked up and did okay from the fall off the table to the floor. I didn't think when I set it down and the lop sided weight made it tip. It got a slight crack started at the base of the skull where the parts seam up, but nothing bad chrome tape won't fix up. *WIPES BROW* In fact, I have still never done anything to doctor the crack. Trooped at Galacticon 3 with it - no issues, no spreading.
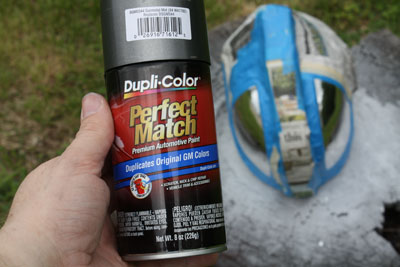
Right: BAM - Thank you once more to Cylon534 for the tip - here is my own Dupli-Color Gunmetal Gray (BGM0344 Gunmetal Met (84 WA7782) Replaces DSGM344 is what the sticker on the cap says). I got it at AutoZone, the price was average, I have it somewhere if anyone needs it I can dig it up.
Here I am back out at the paint booth.
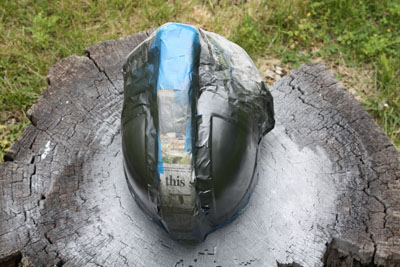
Left: Shazam! PAINTED
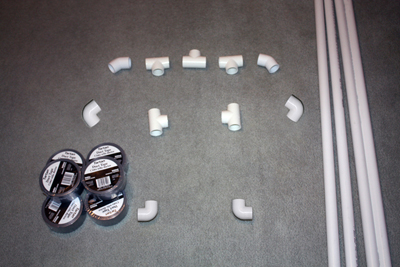
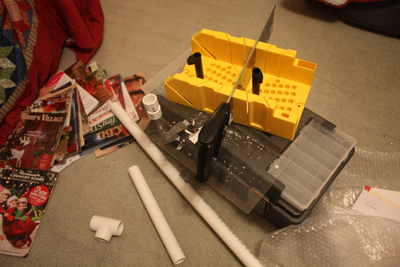
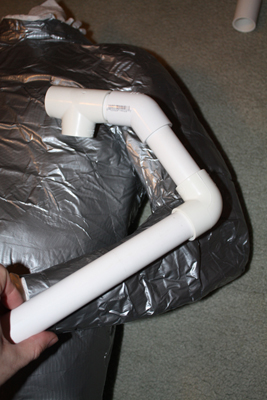
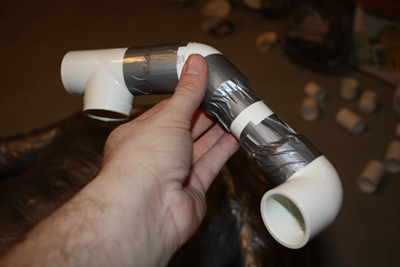
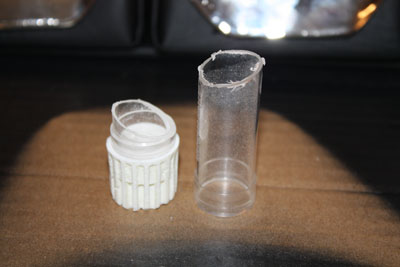
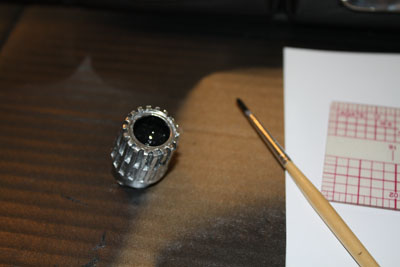
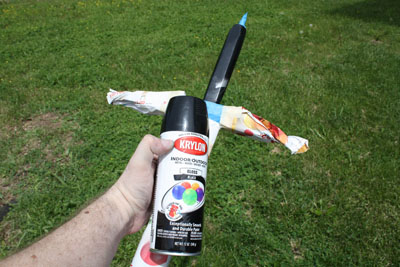
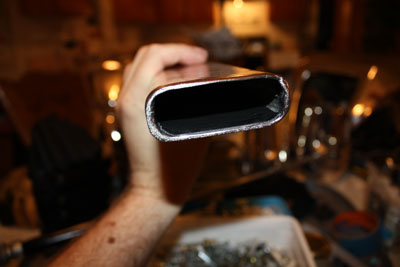
Right: Moving along at light speed still, everything drying, time to do my home made nozzle. Here is the kit tip and the tube I showed in a prior post cut up and ready paint and install on my arm armor.

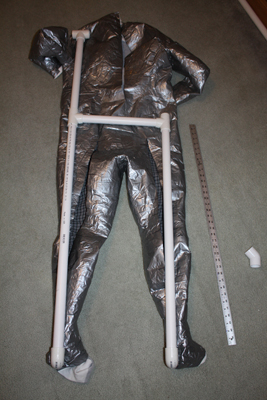
Left: Test fit
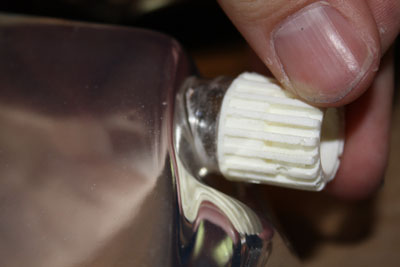
Right: PAINTING! I used the same paint as on the boots.
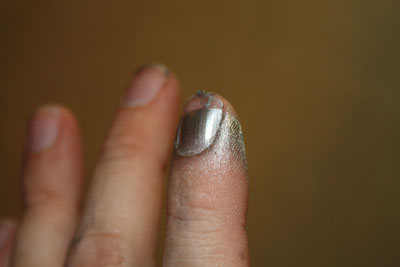
Left: I got silver paint on me! Better than blood!
I got this building thing all figured out. (as if) LOL
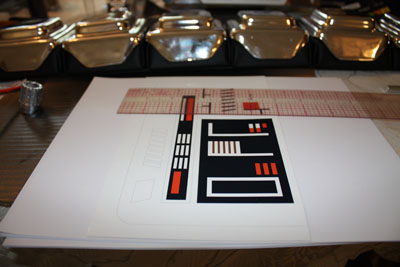
Right: HOLY CRAP... after years and YEARS AND YEARS!!!!! (about 4 years - for real) my own set of Cylon-Knight stickers I lovingly kept in a binder dreaming of *one day* ... are FINALLY out to be put onto my costume - the day is TODAY! (PASSES OUT)
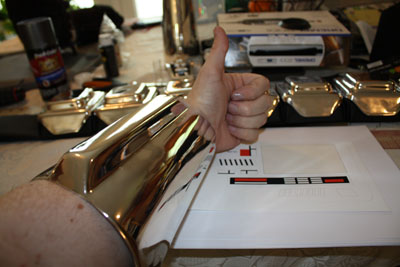
Left: Michael Knight / Cylon-Knight THUMBS UP!
Right: (Watching Fireworks reaction) oooooooooooooooooooohhhh AAAAAHhhhhhhhhh!!!
Left: STICKERS!!!!!!
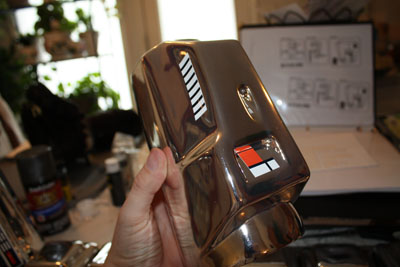
Right: Okay, forget the stickers - WORK TO DO - GALACTICON in ONE day! Detail painting in the nozzle tip, same black as on the Knight chest logo.
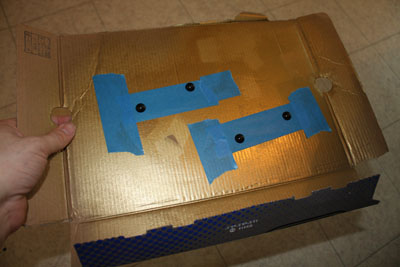
Left: Moving on yet again - the "bolts" for my Battery Belt. Again two sets of converted Doll Eyes (see prior posts) Here they are mounted up on some tape and they won't fly away when I spray them out in my "paint booth" with some silver (again the same silver used on the boots)
Right: OH YEAH! Guess who's ready to kick some Colonial @$$ now?! CYLON-KNIGHT IS! lolz

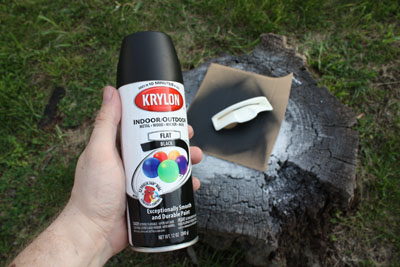
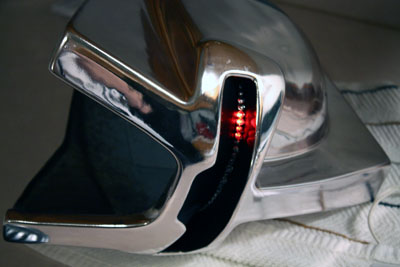
Left: No time to play with the boots - back to the paint booth! The Eye Insert is up next. Krylon Flat Black
Right: Eye see you.
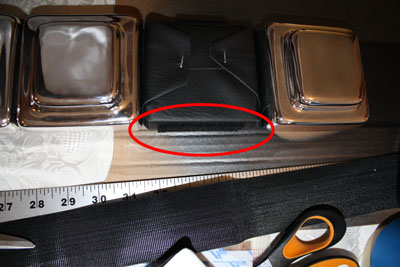
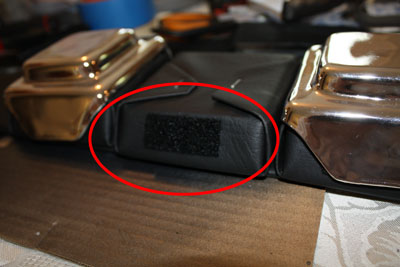
Left: Waiting for the paint to dry, on to the next item again. The batter belt "control" box that I was lacking. (See prior posts)
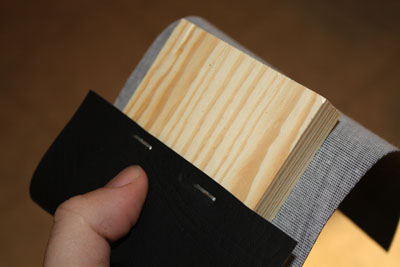
Right: Staples in!
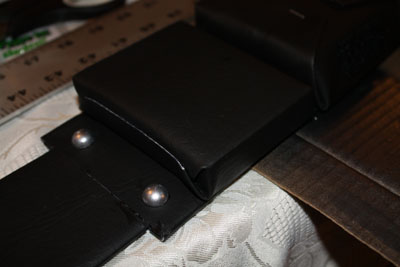
Left: The new box done and installed. I realized AFTER I put it on that I installed it backwards from what I had planned. I just was not paying attention, and in a mad rush! See how the edge of the fabric with the thin white can be seen? I had intended for that to face the belt and in effect hide it. It will show now, but no one will notice. You can also see the two "bolts" from six pictures up that were taped down to spray paint silver. They are installed with super glue. Some of my fellow builders ... ZETA!

... doubted they would hold up, but they did like champs. Down, during and home from Galacticon they are still right were I stuck em. However... the belt itself proved to be an issue. It did its job, but gave its all... I will have to rebuild it with a better skeleton, the plastic one broke at a seam and a field repair was needed at Galacticon. Thanks to Jared for helping with a quick fix!!!
Right: The Eye Insert is dry. Cylon-Knight booting up...
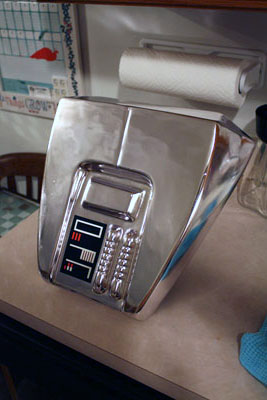
Left: mmmm back pack love. Sticker installed!
(And no, it is not a paper towel dispenser... but that's dang funny, isn't it????)
Right: NO TIME TO PLAY! On to the gloves... the dye didn't hold up on the micro fiber stuff so I have to paint those sections to ensure there is no red tint. Here they are ready to head out to the trusty paint booth.
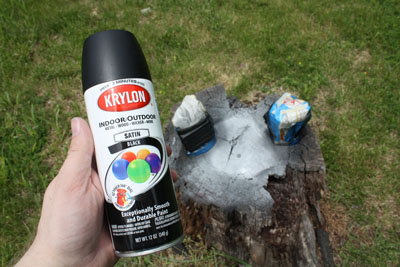
Left: Gloves get a shot of Krylon Satin Black
Right: And while I'm at it, my sword from Sean has a spot of silver from silly me that I'm figured I'd touch up with some Krylon gloss back since I have all this paint and I've not smelled any of the fumes from it ... honest ...


Left: PAINT BOOTH I LOVE YOU! lol
Right: Mrs. Cylon-Knight was also helping me in my mad dash. She hand stitched on my shoulder bell Velcro to my under suit. ((HUGS)) to Mrs. CK
Left: More back pack love. With the next bunch of paint drying I installed the hoses. They are just hot glued on. eeeeek!

I hoped they would survive Galacticon. And they DID! Still on to this second - no sign of coming off. Sweet!
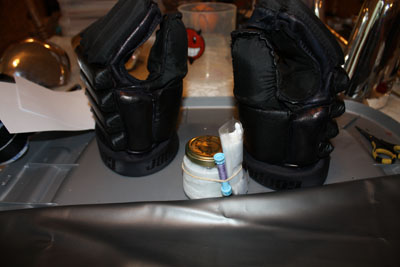
Right: Gloves dry, time to put on the vinyl accent on the cuffs.

Left: Okay fellow Cylon-Builders since all NONE of you ever asked, then I'll just tell you. *HA* The cuff accent should be 10 1/4" x 1 1/8" for a nice fit on a 1:1 set of Cooper gloves. If you want that measurement in metric units... well... tough.
Right: Cordula (who crafted my under suit - I HIGHLY recommend her) sent along extra material. I cut some and used the jar of magic fabric glue stuff she sent from Germany and it rocked.
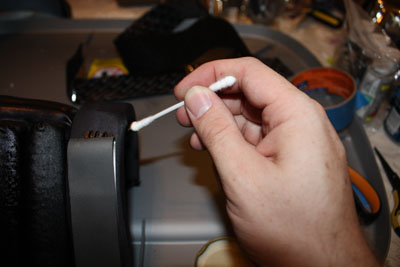
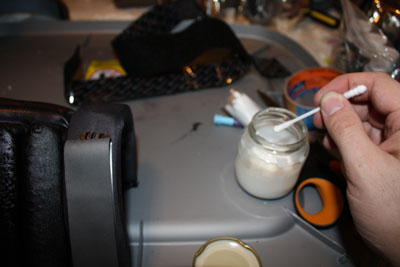
Left: Get some glue on the Q-Tip, then smear it on the cuff, and lay the fabric down. It was quick to dry and good to go.
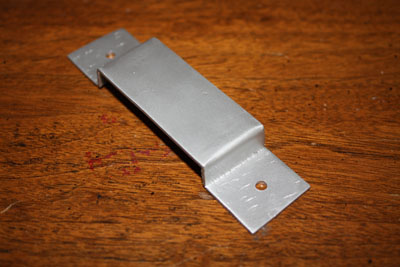
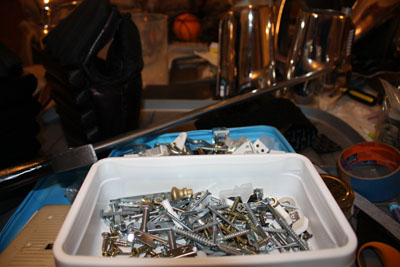
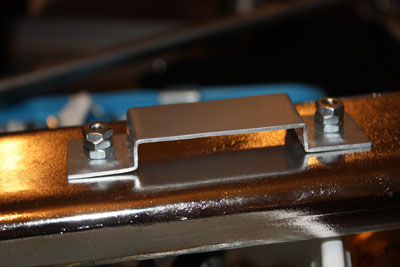
Right: MOVING ON AGIAN! My sword scabbard needs the mount installed to finalize it.
So, enter my box of hoarding screws and bolts and stuff. I dug around and found some parts that would work.
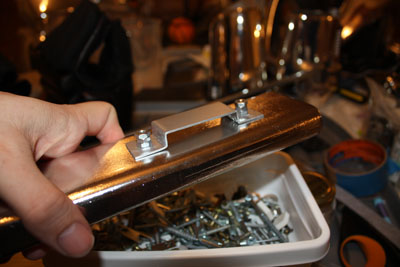
Left: See - hoarding pays off...

Right: I didn't want to bother cutting the bolts I found (I am lazy) so I put three nuts on them. After it was all together... I thought about it - and I think it goes well with the fact I was lazy - AND - it looks like fantastic robotic construction technology from another world that lowly humans just do not understand and can not copy. *yeah, that's the ticket*
Left: It is hard to see but look close... in the scabbard there were two bolt heads from the mount. To cover them up and protect the sword itself from being scratched rubbing on them I glued in a bit of the same fabric that my battery belt is made of. Just as wide as the scabbard and about 9 inches or so. Enough to cover the screw heads. Adds a bit of looks and functionality. Win-Win!
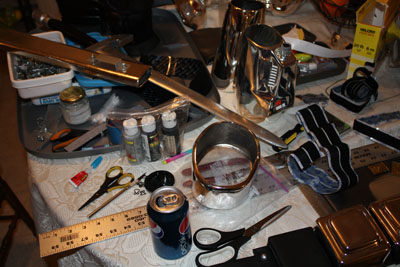
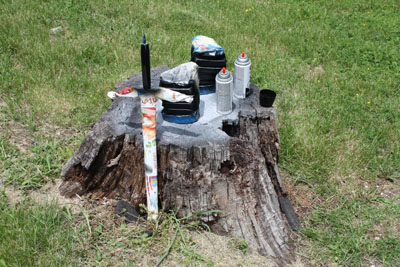
OMG I have Cylon'd more in the last day or two, than in the last 4 years. My entire Kitchen table is Cylon central.

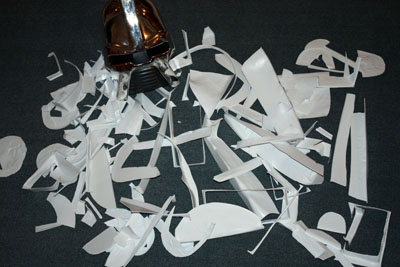
The grill is painted (same paint as the sail panels) I have photos of it being painted... can't remember if that was a past post or not?
(I TAKE LOTS OF PHOTOS!)
I installed the grill with just blue sticky putty. No time for anything else! (I'll revisit a better install later)
Almost time to pack for Glacticon 3!!!!!!!!
_____________________________________
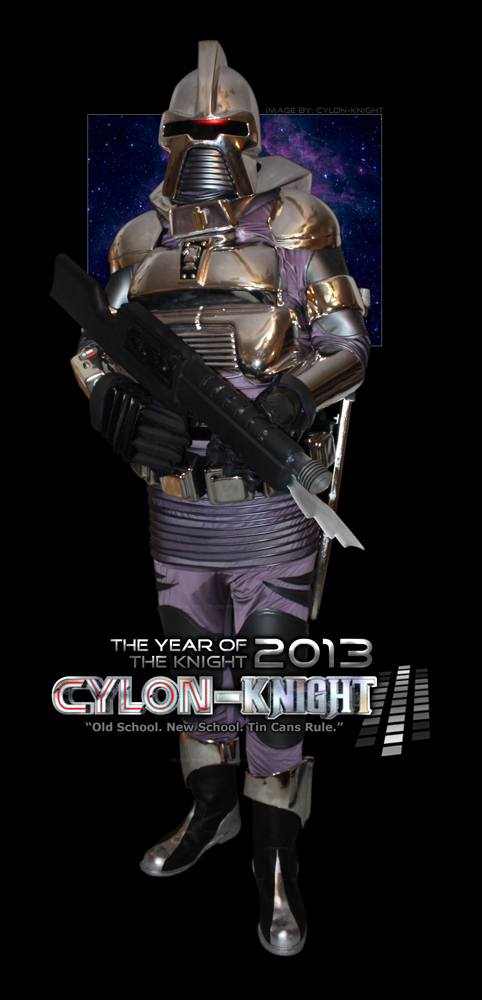
SO - this is IT, The End. *EPIC FAN FARE MUSIC*
(Click the 4 below pics for larger versions if you want)
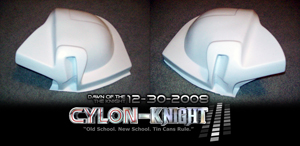
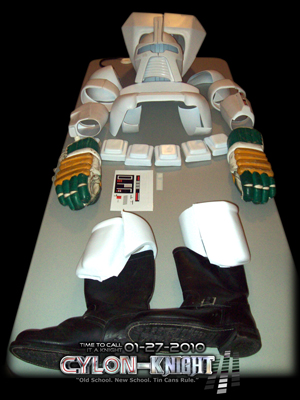
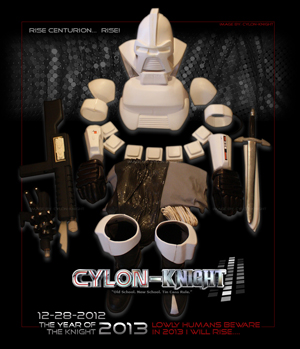

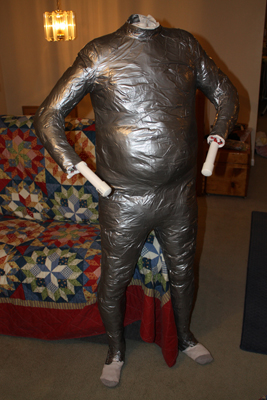
4 years, 4 months, 22 days... and after Blood (literally) - Sweat (literally) and Tears (of Joy)...
...I have BUILT my CYLON-KNIGHT!
.......now of course, I didn't build Cylon-Knight alone. I'll have more posts thanking everyone - there are SO many. And why shouldn't the longest running thread on this forum have the longest post ever (this one!?) DANG!!!!!!
P.S. Is this The End... or JUST THE BEGINNING!
I have more updates and items to do - as you builders know, a build is never really "done."