Hello Again Folks!

Sorry for the big delay on this project. Some changes have came along in my work schedule finally freeing up some more time for my hobbies so I decided to dig this one out of the closet and get it back on the work table and hopefully finished to hep bolster our glorious Cylon Navy! So anyway.... on with the show...........
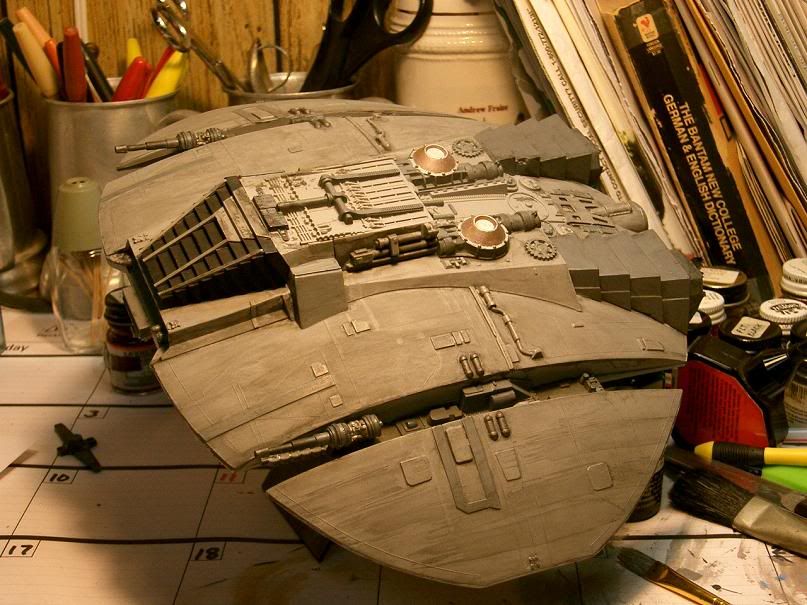
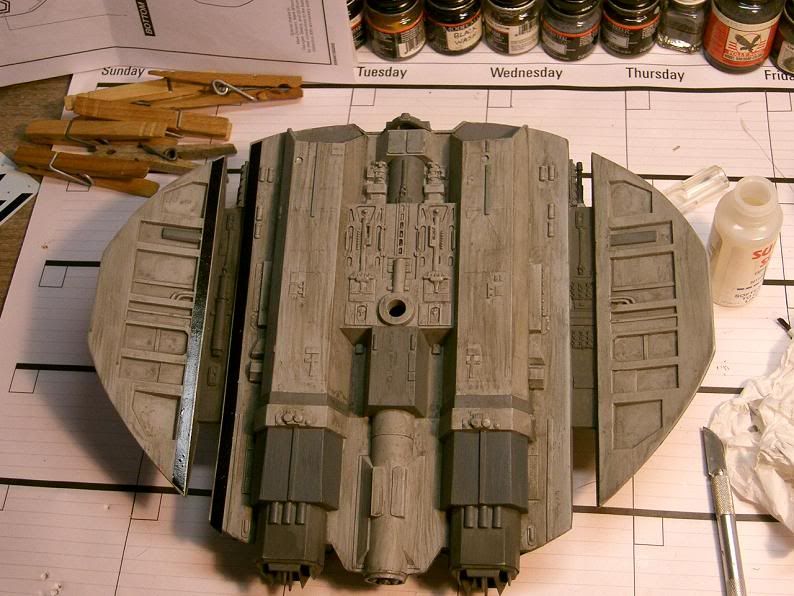
WEATHERING:
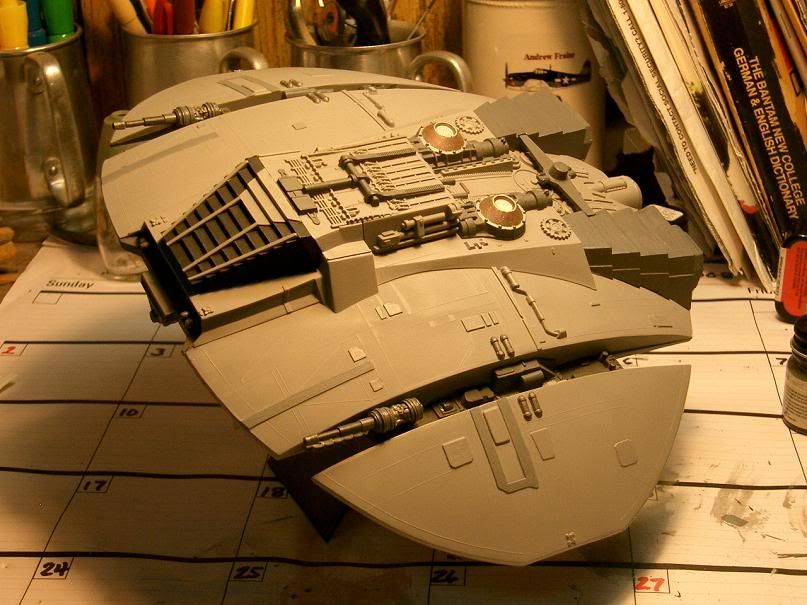
I have added a second coat of darker weathering to the model after letting the first one dry for some time. (You can compare with pics above). This one also uses a shade of gray that is darker than the base coat and the first weathering coat to make it fill voids missed by the 2nd coat. Once this was done I went back and repainted a few of the details I wanted to stand out or that I had accidently covered up with the weathering.
A note on weathering - you will NEVER get it right the first time. PERIOD. You will get it all done then notice a spot you missed, or don't like, or smugged with your finger, etc. That is one of the reasons I use water based washes I make up myself, you can always change them, lighten or darken them and if you mess up - just get a wet piece of smooth towel or rag (don't want to scratch the base coat or rub it off with a rough one) and wipe the biggest part off.
DECALS:
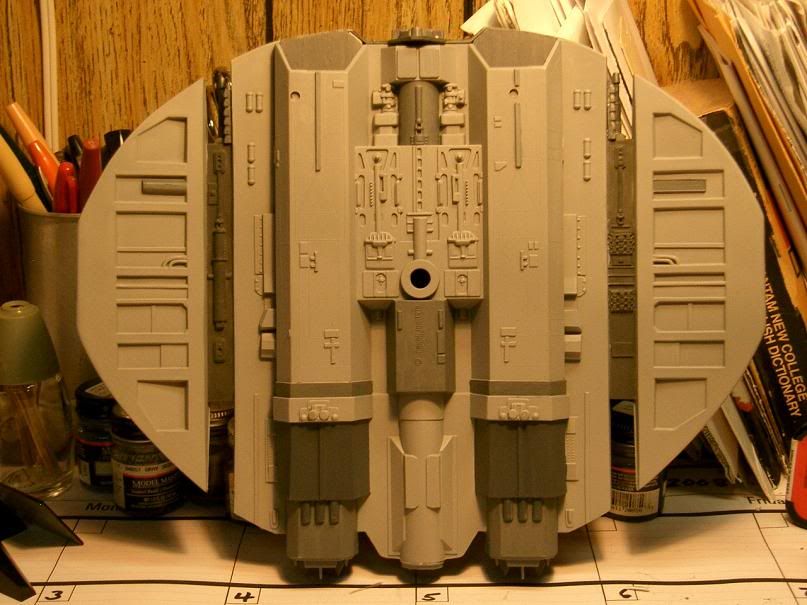
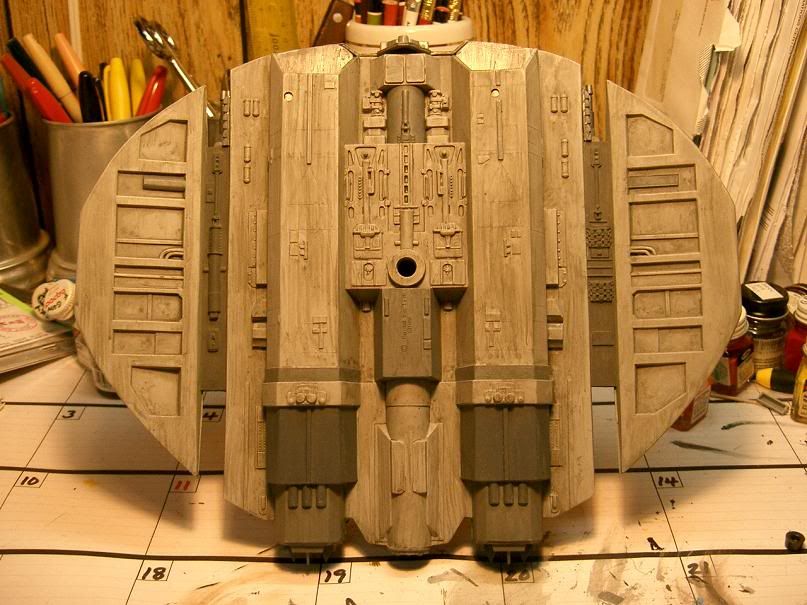
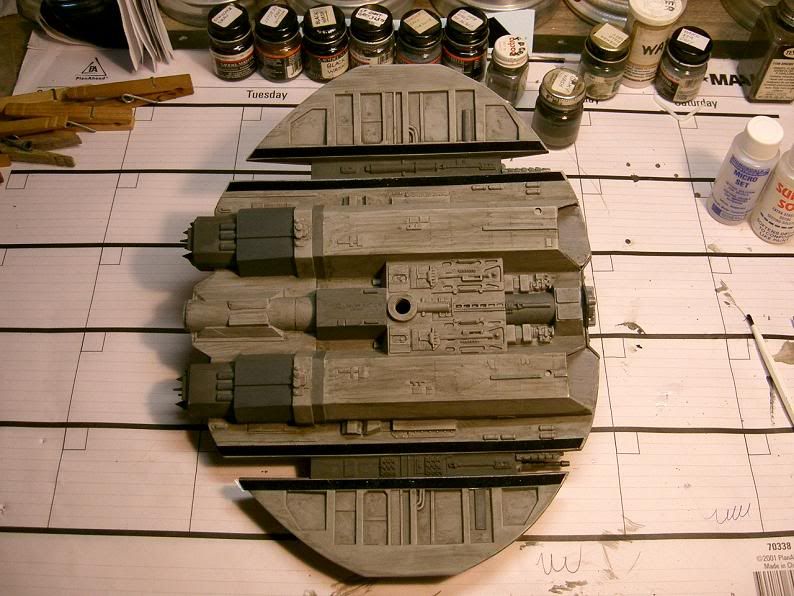
In the photos below we are putting the decals on the model. As listed in detail in a post above we lay down a coat of Future floor wax where the decal will go (a must have for any model with a flat or matt finish IMHO) and let it dry. Then we paint on a coat of Micro Set decal solution (This and a bottle of Micro Sol is another MUST HAVE for any serious modeler, also IMHO) just before laying the wet decal down. Blot out all the water and air bubbles and then another coat of Micro Set and repeat making sure to get all the wrinkles out and have it conform to any bumps our curves in the model.
Here we go with half the racing stripes on the bottom of the fuselage.
Now with all four applied.
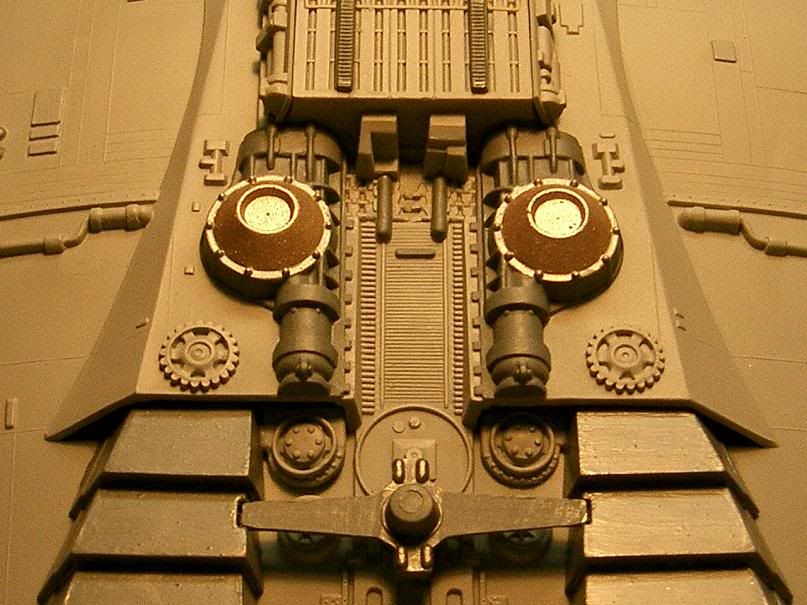
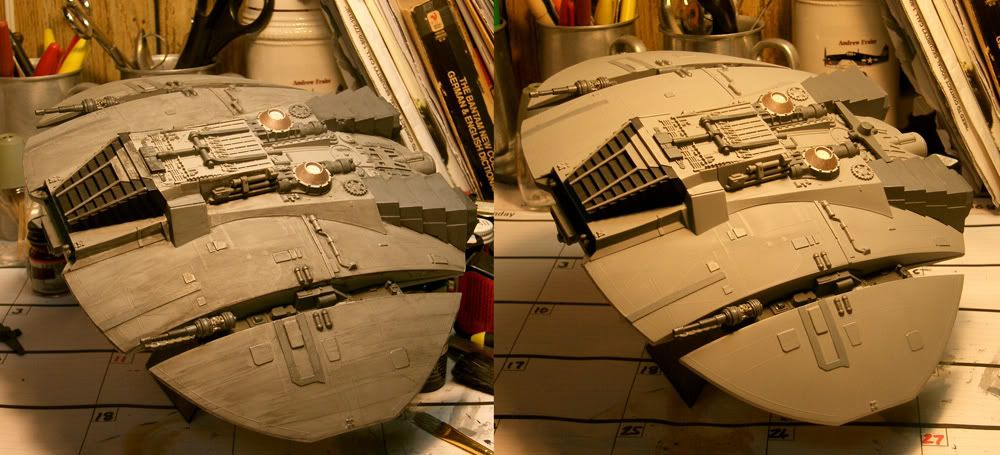
The Cylon Pentagon insignia go on the same way. I had previously painted a patch of Future where they would go and let it dry. You may can see the light shinning off the patch around the insignia. Not to worry this will disappear when you spray the coat of Dullcoat over the model to make the weathering paint and decals blend together.
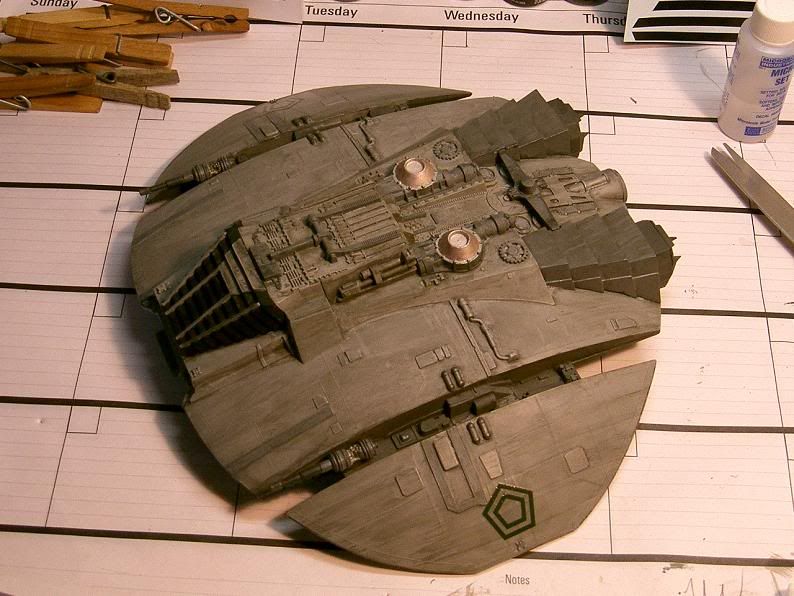
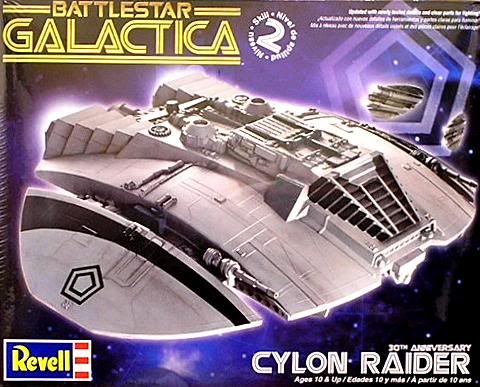
All she likes now is the "Crecent" stripes on the upper wings (seen on the box pic in first post). The kit has nice decals for these but there are so many bumps and barnicles on the upper wings it is impossible to use them. Best to just use them as a guide for your paint masks then put them in your spares box for use on another project.
We will cover the masking and painting of these on the next post. (Hopefully quicker than it took to get this one posted!)