I'm a fan of the old school show and the newer BSO and glad there is a community here of builders. I've been reading the forums and various websites for over a month. I got a kit from Starbuck last friday and got straight into the build. I also ordered a LED eyescanner from somebody on ebay that has a few different modes. I'm not sure yet if I'll do the entire suit but will start with the helmet and see where that takes me. If the images below are too large for the board let me know and I'll downsize all of them.
As a noob I'll have some basic questions for anybody that can help answer them. I'm not afraid if I screw something up as most things can be fixed. I might also do 2nd or 3rd helmet as I have inspired many friends around me to get into prop making and like the cylon classic look.

This is the kit I got from Starbuck and also the LED board.

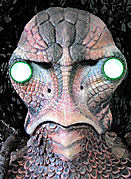
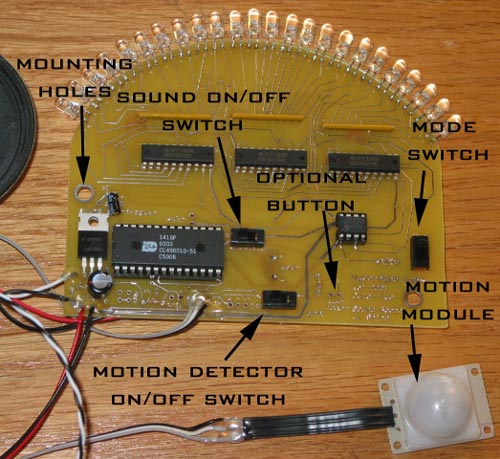
This is a closeup of the LED board. Is anybody familiar with this item? I haven't read all the pages of these forums but haven't seen anybody use this as a solution for the red eye.

So I cut the 2 parts in half with a razor knife and did the tab method with super glue so I could line up the 2 sections together. Before I put them together I took a pencil and hand drew the areas to cut out of the eye and mouth. I used cylon knight as my reference on where to make the cuts.

Here is the 2 sections with the eye and mouth cut out. Now I have my first question. Did I do this right? Did I cut out too much around the mouth/grill area?

When joining the 2 pieces I used rare Earth magnets and a clamp and super glue to slowly get the parts to marry up. I've also built a couple of droids in the past and like to use magnets and glue to fasten hard to clamp sections together.

After that step I got a glass jar and put some Weldon 3 in there and tossed in scrap styrene pieces in the jar for an hour and let that melt into goo. I think used a cheap paint brush to seal the crack and attempted to join the little 'nose' area together. This is a good method to melt styrene together if you do it right. I let the helmet dry a couple of days in the AZ heat for the Weldon 3 to evaporate or it don't sand too well.

I used a mouse sander to sand down the melted styrene and then used glazing puddy and here is where I'm at after 7 days on the project. If you look you'll notice the 'nose' section shook apart from the vibration of the mouse sander. Also notice the overlap of the broken pieces. How do you guys/girls handle that little section to get it nice and solid prior to paint and chroming?

Notice the overlap on the nose section? This how it just rests normally. What would you builders do with that? Just cut it as it rests or make it widen a bit. I'm not sure what the exact measurements and how to proceed next. Up to now it was easy and straight forward.

These are the pieces left of the kit for the helmet. I understand the grill needed to be trimmed but I'm not sure where. Then the large horseshoe resin piece what is that for? I can see there are 2 resin black peices. Do I need both of them? This is where I'm going ???
I appreciate any feed back or help the board can offer.


